DIY home projects can save real money, but only if you pick the right work in the right order. That is the part a lot of homeowners miss. They jump straight to paint colors, buy a new tool, tear into a wall, and then find out the trim should have been fixed first or the flooring should have waited until the leak was solved. I look at home projects the same way I look at plant shutdown work at my day job: scope first, sequence second, spending third. Follow the procedure and everything will be fine.
Start with projects that fix daily friction
The best DIY home projects are usually not the flashy ones. They are the ones that remove irritation from normal life. Think about a sticking interior door, sloppy garage storage, drafty weatherstripping, cracked caulk around a tub, loose cabinet hardware, or closet shelving that wastes half the wall. These are low-drama jobs, but they improve the house every single day.
My rule is simple: rank projects by function, not excitement. First, fix anything involving water entry, air leakage, safety, or repeated wear. Second, handle storage and organization upgrades that make the house easier to maintain. Third, do appearance work like paint or trim touch-ups. If you reverse that order, you often end up redoing work.
Budget matters too. Many practical DIY home projects land in the $20 to $300 range, which is exactly why they are worth batching. A weekend spent replacing door sweeps, sealing gaps, adding LED shop lighting, and installing heavy-duty shelves can make an older house feel better without blowing up the monthly budget.
Scope the job before you buy materials
This is where homeowners save themselves from dumb mistakes. Before starting any DIY home projects, write down four things: the problem, the finish condition, the tools required, and the stop point. That last one matters. If you are repainting a bathroom, are you also replacing the fan grille, recaulking the tub, patching nail holes, and swapping the vanity light? Decide now, not halfway through Saturday.
A simple scope check looks like this:
- Define the exact area.
- Measure materials twice.
- List every step in order.
- Identify what could force a delay.
- Set a realistic budget range.
For example, a basic laundry room refresh might cost $150 to $500 if you are painting, adding shelves, and replacing utility hardware. It can jump higher fast if flooring, drywall repair, or electrical relocation gets added. Measure first, then cut.
The biggest failure mode is hidden expansion. You planned a shelf install, then noticed torn drywall, then decided to repaint, then realized the old baseboard looked rough. Now your one-day project is a three-week mess. Good DIY home projects stay controlled because the scope is controlled.
Choose beginner-safe work and know your limits
Not every job belongs on a homeowner weekend list. Good candidates for DIY home projects include interior painting, caulking, weatherstripping, shelving, trim replacement, simple hardware swaps, faucet replacements, basic landscaping, and garage organization builds. These have manageable risk if you move carefully and use the right tools.
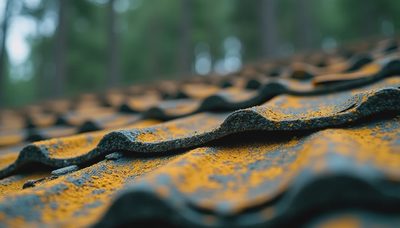
Jobs that deserve caution or a licensed pro include service panel work, major plumbing changes, structural framing, gas line work, roofing at steep pitch, and anything where a leak or shock hazard could create expensive damage. I am strongly pro-DIY, but not reckless. There is no trophy for turning a $250 repair into a $4,000 callback.
A useful decision checkpoint is this: if failure creates hidden damage, not just visible ugliness, slow down or outsource. Crooked paint lines are annoying. A bad toilet seal, incorrectly flashed exterior penetration, or overloaded circuit is a different category.
Megan says I am too rigid about this. She may be right, but the process saved me again more than once. If you skip this step now, you may pay for it later.
Build around sequence, not motivation
A lot of abandoned DIY home projects are not caused by laziness. They fail because the sequence was wrong. Homeowners get motivated by the fun part, but the house does not care about motivation. It cares about order.
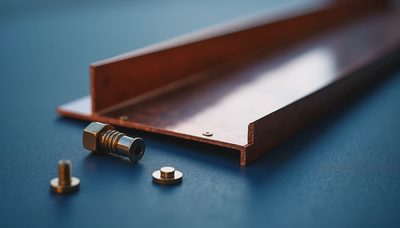
A good sequence usually looks like this: repair first, then messy work, then surface prep, then paint or finish, then hardware and final install. If you are updating a mudroom, do not install hooks and pretty baskets before patching the wall, painting, and solving any flooring edge issue. If you are reworking a garage wall, find studs, plan load points, and verify clearance before buying cabinets or track systems.
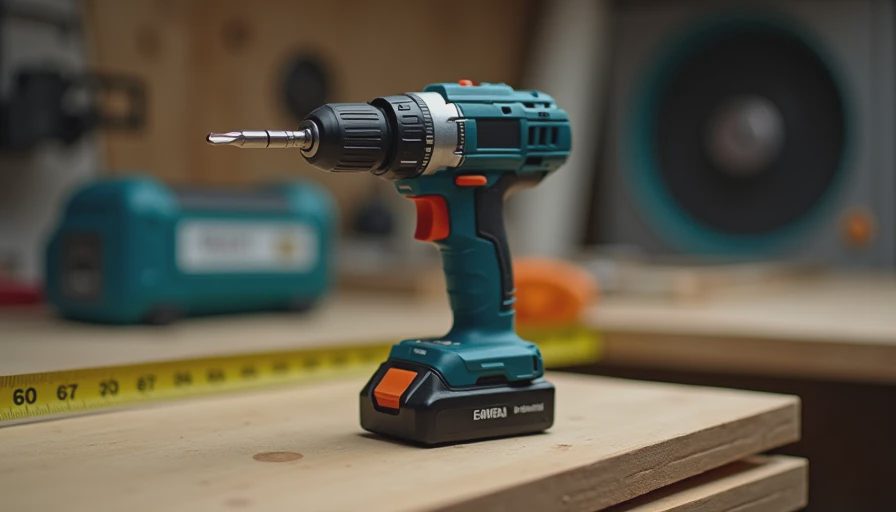
Tools affect sequence too. If you need a stud finder, oscillating multi-tool, level, shop vacuum, and caulk gun, stage them before starting. Small delays kill momentum. So does poor cleanup planning. I keep contractor bags, a broom, and a bin for removed hardware nearby because reset time matters.
The win condition for most DIY home projects is not perfection. It is a finished result that works, holds up, and does not create a second repair later.
High-value projects that usually pay off
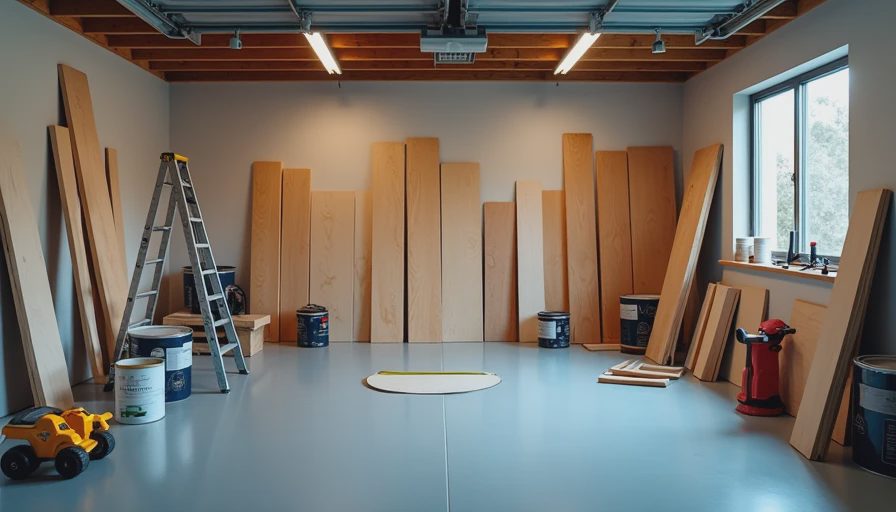
If you want the best return in comfort and usefulness, focus on practical upgrades. In older suburban houses, I consistently like these DIY home projects: sealing draft points around doors, upgrading attic hatch weatherstripping, installing garage shelving, repainting worn rooms, replacing dated light fixtures, refreshing bathroom caulk and trim, and building better entry storage.
A few examples with rough ranges:
- Weatherstripping and door sealing: $30 to $150
- Garage wall shelving or ceiling storage: $100 to $500
- Interior room paint refresh: $80 to $300 per room
- Closet system upgrade: $150 to $600
- Basic bathroom hardware and caulk refresh: $40 to $200
These are not glamorous, but they make the home easier to live in and maintain. They also reduce that constant mental drag of seeing five little problems every time you walk by.
If you want one final filter, ask this question: will this job improve function for the next six months, or is it just feeding my urge to start something? That question has saved me from more than one unnecessary Saturday project.
Finish strong: document, inspect, and move on
The last step in DIY home projects is the one nobody posts online: closeout. Do a final inspection. Check fasteners, paint coverage, caulk lines, door swing, shelf level, and cleanup. Save extra materials in a labeled bin. Take a few photos of what is behind a wall or where anchors landed. Future you will be grateful.
I also recommend keeping a simple house project log with date, cost, materials used, and any follow-up note. It sounds boring, and it is, but boring systems are what keep homes from drifting into chaos. Follow the procedure and everything will be fine.
If you are deciding where to start, skip the fantasy build for now. Pick one of the DIY home projects that fixes a real problem, define the scope, buy only what the job needs, and finish it completely. That is how a house gets better without your weekends turning into expensive mistakes.


No signals yet — transmit the first.