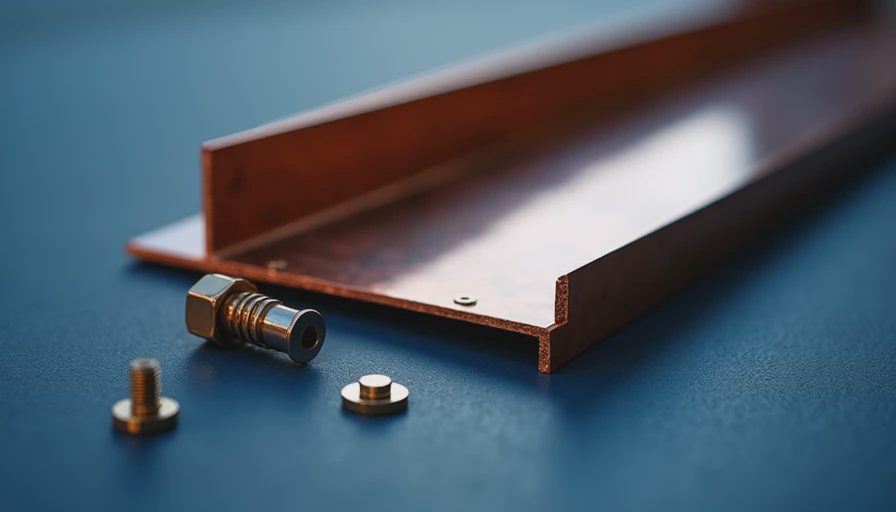
Proper Window Flashing and Sealing Details: How to Do It Right the First Time
If you are installing new windows or replacing old ones, getting the proper window flashing and sealing details right is one of the most critical steps for long-term performance. I have seen too many homeowners skip this part, only to deal with water intrusion, rotted framing, and mold a few years later. Follow the procedure and everything will be fine.
Window flashing is the waterproof layer that directs water away from the window opening. Sealing refers to the caulk, tape, and gaskets that seal the gaps between the window frame and the house wrap or sheathing. Together, they form a drainage plane that keeps moisture where it belongs—outside. In this guide, I will walk you through the sequence, materials, and common failure points so you can get proper window flashing and sealing details on your next project.
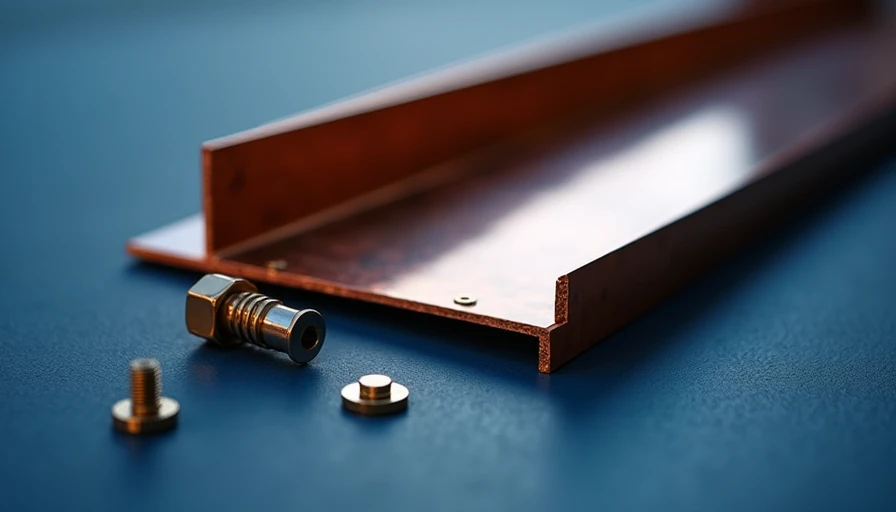
Why Proper Flashing and Sealing Matters
Water damage is the number one cause of window failure. A window that leaks will rot the sill, the framing, and eventually the siding. The repair cost can easily run $500 to $2,000 per opening depending on the extent of the damage. By contrast, spending an extra $20 on flashing tape and an hour of careful work gives you a dry wall for decades.
The building code has specific requirements for flashing around windows. In most jurisdictions, you need to follow the pan, jamb, and head flashing sequence. The pan goes at the bottom, the jambs on the sides, and the head at the top, with each layer lapping over the one below it. This shingling effect ensures that water runs downhill and never gets behind the flashing.
Step-by-Step Guide to Proper Window Flashing and Sealing Details
Before you start, gather your materials. I recommend Grace Vycor or Zip System flashing tape for its adhesive strength and flexibility. You will also need a utility knife, a caulk gun with exterior-grade silicone or polyurethane caulk, a roller or stiff squeegee for pressing tape, and a tube of butyl sealant if you prefer that approach. Plan for 30 to 45 minutes per window for the flashing and sealing work alone.
Step 1: Prepare the Opening
Cut the house wrap or building paper to create a clean opening. The cut should be about 1 inch larger than the window frame on all sides so you have room to apply tape. Use a straightedge and a sharp blade to avoid tearing the wrap. If the wrap is damaged, patch it with tape before proceeding.
Step 2: Install the Pan Flashing
Cut a piece of flashing tape long enough to cover the sill and extend 6 inches up each jamb. Center it on the sill and press it into the corner, then smooth it outward with a roller. The tape must overlap the house wrap below the opening by at least 2 inches. Some contractors also apply a bead of caulk along the seam between the sill and the framing before adding the tape—that is a good extra step I recommend.
Step 3: Apply Jamb Flashing
Cut two strips of tape for the jambs, each running from the top of the opening down to the pan tape. Overlap the pan by 2 to 3 inches. Press the tape from top to bottom, working out any bubbles. The tape should extend onto the face of the sheathing by 1 to 2 inches. Do not stretch the tape—lay it flat.

Step 4: Install the Window and Secure It
Set the window into the opening, making sure it is level and plumb. Shim the sides and bottom as needed. Fasten the window through the jambs into the framing using the manufacturer’s recommended screws or nails. Do not overdrive the fasteners, as that can warp the frame.
Step 5: Seal the Nailing Flange
After the window is fastened, apply a bead of caulk along the top and sides of the nailing flange. Some manufacturers require you to seal the entire perimeter. Follow their instructions. Then install a piece of head flashing tape over the top flange, extending 2 inches past each side and overlapping the jamb tape. This is the critical part that many DIYers skip—water usually enters at the top first.
Step 6: Complete the Seal
Finally, inspect all joints. Any gap wider than 1/8 inch should be filled with backer rod before caulking. Use a damp finger or tool to smooth the caulk beads. Wait 24 hours before exposing the window to rain if possible.
Common Mistakes and How to Avoid Them
I have made several of these mistakes myself. One of the most common is leaving the pan tape too short. If the pan tape doesn’t extend up the jambs at least 6 inches, water can wick around the corner. Another is using standard duct tape instead of purpose-made flashing tape. Duct tape degrades in UV light and loses adhesion quickly.
Failure to lap the tapes correctly is another frequent issue. Each layer must overlap the one below it, like roof shingles. If the head tape laps under the jamb tape, water can get behind. Also, do not rely on caulk alone as a substitute for flashing tape. Caulk shrinks and cracks over time—tape provides a more reliable water barrier.
Tools and Materials Checklist
Here is what I keep in my truck for every window flashing job:
- Flashing tape (Vycor or Zip System)
- Exterior-grade caulk (silicone or polyurethane)
- Utility knife with extra blades
- Roller or squeegee for tape
- Backer rod for large gaps
- Level and shims
- Stainless steel screws or galvanized nails (per window specs)
Total material cost per window runs $15 to $30. That is cheap insurance.
When to Call a Professional
If your house has complex corners or integrated gutters, or if you are dealing with stucco or stone veneer, consider hiring a licensed contractor. Those materials require specialized flashings and sealants. A typical contractor charges $100 to $150 per hour, and a full window flashing job might take two hours. But if you are installing windows yourself, following these proper window flashing and sealing details will save you a lot of money and headaches.
Final Thoughts
Window flashing is one of those hidden details that no one sees, but everyone feels when the basements stays dry. Take your time, follow the sequence, and use quality materials. Megan says I am too obsessive about this stuff. She may be right, but the process saved me again when a wind-driven storm hit our house last spring. Not a single leak. Do it right once, and you will not have to do it again.





No signals yet — transmit the first.