How to Check Roof Condition from Attic: A Step-by-Step Guide
Most homeowners never think about their roof until water stains appear on the ceiling. By then, the damage is already done. One of the best ways to stay ahead of roof problems is to learn how to check roof condition from attic spaces. The attic gives you direct access to the roof deck, insulation, and framing. With a flashlight and a few minutes, you can spot trouble before it turns into a costly repair. This guide walks you through the process like a work instruction: what to look for, how to inspect safely, and when to call a pro.
Why Check the Roof from the Attic?
The attic is the only place where you can see the underside of your roof sheathing, rafters, and insulation without climbing onto the roof. Leaks, condensation, and pest damage often show up here first. By inspecting from the attic, you can catch small issues while they are still cheap to fix. A 15-minute attic inspection twice a year can prevent a $5,000 roof replacement later. Checking from the attic also avoids the risk of walking on slippery shingles. Follow the procedure and everything will be fine.
What You Need for the Inspection
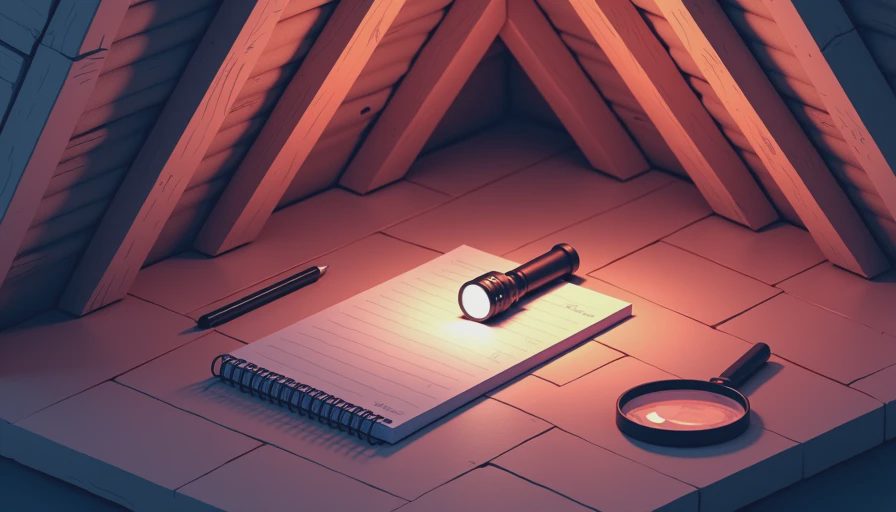
Gather these tools before you go up:
- Bright flashlight or work light
- Long-sleeve shirt, pants, gloves, dust mask
- Small screwdriver or awl (for probing wood)
- Camera or phone for photos
- Notebook and pen
Make sure the attic access is stable. If you have a pull-down ladder, check that it locks in place. Wear a dust mask to avoid inhaling insulation fibers. If you smell mold or feel dampness, that is a warning sign already.
Signs of Roof Damage You Can Spot from the Attic
When you know how to check roof condition from attic, you focus on four main areas: water stains, rot, mold, and daylight penetration. Here is what to look for:
Water Stains and Leaks
Look for dark streaks or yellow-brown stains on the roof decking. These indicate past or active leaks. If the wood feels wet or soft, the leak is still happening. Trace the stain upward to find where water enters. Sometimes the source is a nail hole or a flashing gap.
Rot and Wood Decay
Probe the rafters and sheathing with your screwdriver. If the tool sinks in more than a quarter inch, you have rot. Rot spreads fast and weakens the roof structure. Replace rotted sections immediately.
Mold and Mildew
Black or green patches on wood or insulation are mold. Mold means moisture is trapped. This can be from a leak or poor ventilation. If you see mold, you need to fix the moisture source and remove the mold.
Daylight Showing Through
In a dark attic, any daylight means a hole. Even a pinprick of light can let in rain and pests. Seal small gaps with caulk or expanding foam. Larger holes need patching.
Step-by-Step: How to Check Roof Condition from Attic Safely
Follow this sequence every time:
- Prepare the workspace – Clear the attic access area. Lay a plywood plank over joists so you do not step through the ceiling below.
- Use your senses first – Stand still and smell for mustiness. Listen for dripping or scratching. Look for overall darkness where light should be.
- Inspect the insulation – Check if insulation is damp or compressed. Wet insulation loses R-value and breeds mold. If you see footprints in the insulation, something is traveling across it.
- Examine the roof deck – Shine your light along every section of plywood or OSB. Note any stains, soft spots, or sagging.
- Check the rafters – Look for splits, cracks, or insect damage. Pay extra attention around chimneys, vents, and valleys.
- Inspect flashing areas – Where the roof meets a wall, chimney, or skylight, the flashing can lift or rust. Look for daylight or water trails.
- Take photos and notes – Document everything. Good photos help contractors give accurate quotes. They also let you compare next time.

What to Do If You Find Damage
If you spot minor issues like a small leak or isolated rot, you can handle them yourself if you are comfortable working on a roof. For major damage – large wet areas, sagging deck, or widespread mold – call a licensed roofer. Roof replacement costs between $5,000 and $12,000 for an average home. Catching problems early can keep repairs under $500. When in doubt, get a second opinion. Follow the procedure and everything will be fine.
How Often Should You Perform This Inspection?
I recommend inspecting your attic twice a year: once in spring after the snow melts and once in fall before winter. Also check after a major storm. The process takes less than 30 minutes. Comparing photos from previous inspections helps you track changes over time. This habit alone can extend your roof’s life by years.
Final Thoughts on Roof Inspections from the Attic
Learning how to check roof condition from attic is one of the simplest, most effective maintenance tasks a homeowner can do. It takes little time, costs nothing, and can save you thousands. The attic gives you a direct view of the roof’s health without the danger of climbing. Megan says I am too rigid about checklists. She may be right, but the process saved me again when I spotted a nail hole early last year. Start your inspection today, and keep that roof over your head solid.



No signals yet — transmit the first.