If you're planning a new roof, understanding the **roof tear off process** is crucial. It's not just about ripping off old shingles—it's a systematic procedure that affects the longevity of your new roof. I've gone through this process on my own 1989 home, and I'll walk you through each step so you know what to expect, what it costs, and where to avoid costly mistakes. Follow the procedure and everything will be fine.
What Is the Roof Tear Off Process?
The term refers to removing all existing roofing materials—shingles, underlayment, flashing, and sometimes the drip edge—down to the bare wood deck. This is different from an overlay, where new shingles go on top of the old ones. I always recommend a full tear off because it lets you inspect the deck for rot, replace damaged flashing, and ensure new shingles lay flat. The **roof tear off process** typically takes one to three days for an average home, depending on roof complexity and crew size.
Tools and Materials You'll Need
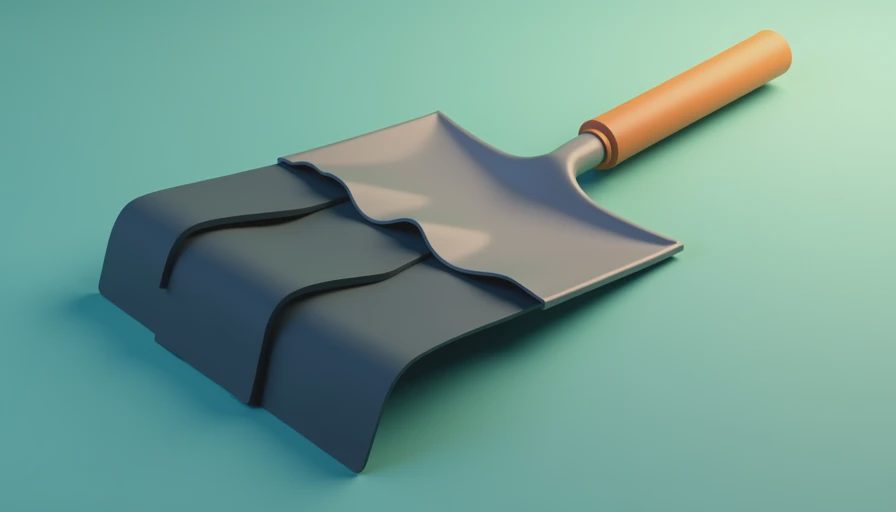
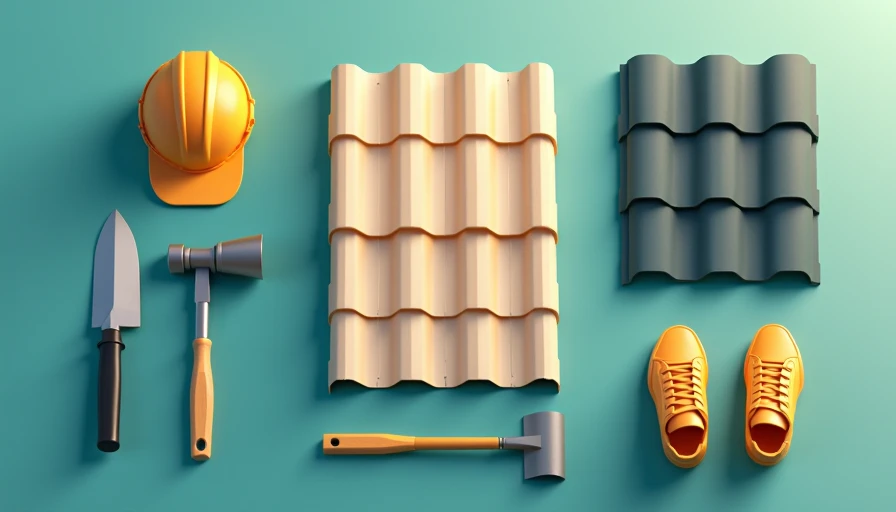
Before starting, gather the right equipment. You'll need a roofing shovel (or tear-off shovel), a hammer, a pry bar, a utility knife, a roofing nailer for reattachment, and plenty of nails. For safety: a harness with tie-offs, non-slip shoes, gloves, safety glasses, and a hard hat if others are around. You'll also need a dumpster or a trailer to haul away debris, plus tarps to protect your landscaping and driveway. I learned the hard way that skipping the tarp means scrubbing asphalt granules from the grass for weeks.

Step 1: Prepare the Work Area
Start by clearing gutters and downspouts—debris will fall into them. Cover any shrubs or air conditioning units with tarps. Disconnect electrical wires near the roof edge if they're in the way. Set up your dumpster close to the roof edge so you can toss material directly. If you're working with a crew, establish a staging area for tools. Safety lines should be anchored to the roof ridge or a secure point. This step is boring but skipping it leads to damage and delays.
Step 2: Remove the Shingles
Begin at the ridge and work your way down. Use the roofing shovel to pry up shingles in rows. Work in sections, about 3–4 feet wide, to keep the process manageable. Toss each shingle into the dumpster or pile for later removal. Be mindful of nails—they'll be everywhere. I recommend using a magnetic sweeper at the end of each section. The goal is to expose the underlayment without damaging the deck. If you encounter areas where the shingles are stuck, a pry bar helps.
Step 3: Remove Underlayment and Flashing
Once shingles are off, strip the underlayment (felt or synthetic). Start at the bottom and pull upward. Use a utility knife to cut around vents and pipes. Then remove all flashing around chimneys, skylights, and valleys. Flashing should be carefully taken off to avoid damaging the deck. Keep old flashing in one pile—you may want to reuse some pieces temporarily while waiting for new ones.
Step 4: Inspect and Repair the Roof Deck
With everything bare, inspect the plywood or OSB deck. Look for soft spots, rot, or water damage. Use a screwdriver to probe suspect areas. Replace any damaged boards with new plywood of the same thickness. Nail down any loose edges. This is your only chance to fix the deck before the new roof goes on. I once found a 2-foot section of rot near the chimney that would have caused a leak in six months. A few sheets of plywood cost $30 each—cheap insurance.
Step 5: Clean Up and Haul Away Debris
Sweep the deck thoroughly to remove nails and debris. Use a magnetic roller across the entire roof and surrounding ground. Collect all old underlayment and flashing, and load them into the dumpster. Triple-check gutters for nails—they can puncture new shingles later. If you're not installing the new roof immediately, cover the deck with a tarp and secure it. But ideally, you schedule the new installation to start right after the tear off.
Cost of a Roof Tear Off
The cost varies by roof size, pitch, and location. For an average 1,500-square-foot roof, expect to pay $1,500 to $3,000 for labor and disposal alone, not including new materials. If you DIY, you save the labor but need to rent a dumpster ($200–$400) and buy safety gear. On my own roof, I spent about $2,200 for a crew to tear off and haul away in one day. That's worth it for most people.
DIY vs. Hiring a Pro
The **roof tear off process** is physically demanding and dangerous. If your roof is steep (over 6/12 pitch) or has multiple stories, hire a licensed contractor with insurance and safety protocols. DIY is possible for low-pitch, single-story homes, but you need a partner and proper gear. If you decide to DIY, don't skimp on safety—I always wear a harness even on my garage roof. And remember, if the deck needs repairs, you'll be glad you did the tear off.
Common Mistakes to Avoid
- Not securing dumpster weight limits—overloaded dumpsters are a hazard.
- Working too fast and missing nails—they'll pop new shingles later.
- Ignoring safety lines—one slip can cost thousands in medical bills.
- Skipping deck inspection—a hidden rot spot will turn a new roof into a leak.
- Underestimating debris volume—a typical roof produces 3–6 tons of waste.
Follow each step carefully, and the job will go smoothly. Whether you hire it out or tackle it yourself, understanding the **roof tear off process** ensures you don't cut corners that compromise your new roof. As I always say: do it right the first time, and you won't lose sleep over the next storm.


No signals yet — transmit the first.