
If you are a homeowner thinking about new windows, you already know it is not a small project. I have been through it myself—on my own house and helping friends. The difference between a smooth replacement and a headache often comes down to following solid **window replacement tips** before you even order the first pane. These window replacement tips come from years of managing projects and making mistakes so you do not have to.
Let me start with the most important bit: do not rush into buying windows because of a sale or a door-to-door pitch. A bad decision here can cost you thousands in energy loss or installation rework. Follow the procedure and everything will be fine.
1. Know When to Replace vs. Repair
Not every drafty window needs to go. Before you spend money on new units, ask yourself: is the frame rotting, or is it just the weatherstripping? If the glass is fogged between panes, that is a seal failure—often worth replacing the whole sash. But if only the caulk is cracked, you can fix that for ten dollars. A good rule: if the window is more than twenty years old and has air leaks you cannot stop with new weatherstripping, it is time to replace. The best window replacement tips start with honest assessment. Do not replace what can be saved.
2. Set a Realistic Budget
Window replacement is not cheap. Expect to pay between $500 and $1,200 per window installed for standard double-hung vinyl units. Wood or fiberglass runs higher. If you are doing it yourself, you may save 30–40% on labor, but you lose the warranty on installation. Plan for extras: trim, insulation, and disposal of old windows. I always add 15% to my materials budget for surprises. These window replacement tips include this: get at least three written estimates from contractors, and ask for a line-item breakdown. No surprises later.
3. Choose the Right Window Material
Vinyl is the most popular for good reason: low maintenance, good insulation, and affordable. But if you live in extreme heat or cold, fiberglass or aluminum-clad wood performs better and lasts longer. Wood looks great but needs painting every few years. I lean toward vinyl for most homes because it works well and does not rot. Double-check the NFRC ratings: look for a U-factor below 0.30 and a Solar Heat Gain Coefficient (SHGC) appropriate for your climate. These window replacement tips focus on performance, not just appearance.
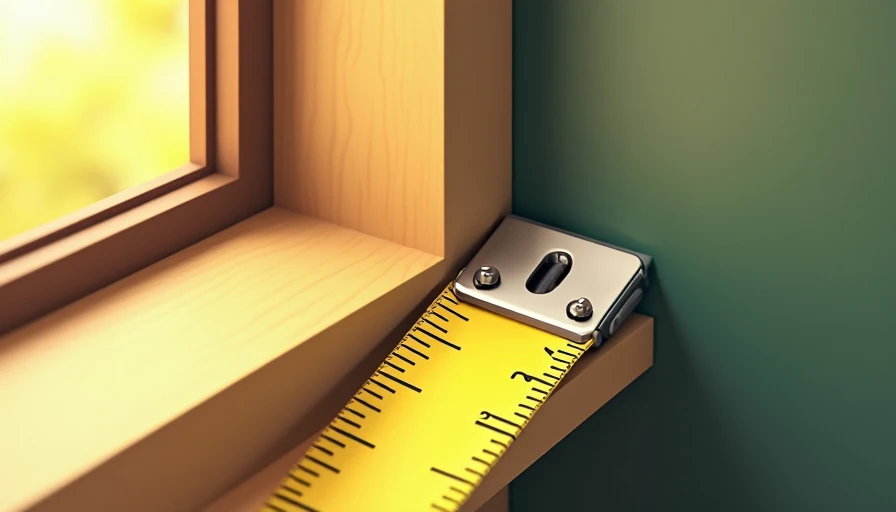
4. Measure Accurately (Twice)
This is where homeowners mess up most. If you order windows that are too big, you cannot return them. Too small, you need shims and filler—and that leads to drafts. Measure the width at the top, middle, and bottom of the opening. Use the narrowest measurement for width. Do the same for height. Write everything down. Then measure again the next day. If you hire a contractor, make sure they measure themselves—do not rely on the salesperson. I have seen orders come in wrong because someone misread a tape. Folklore? No, I have done it myself.
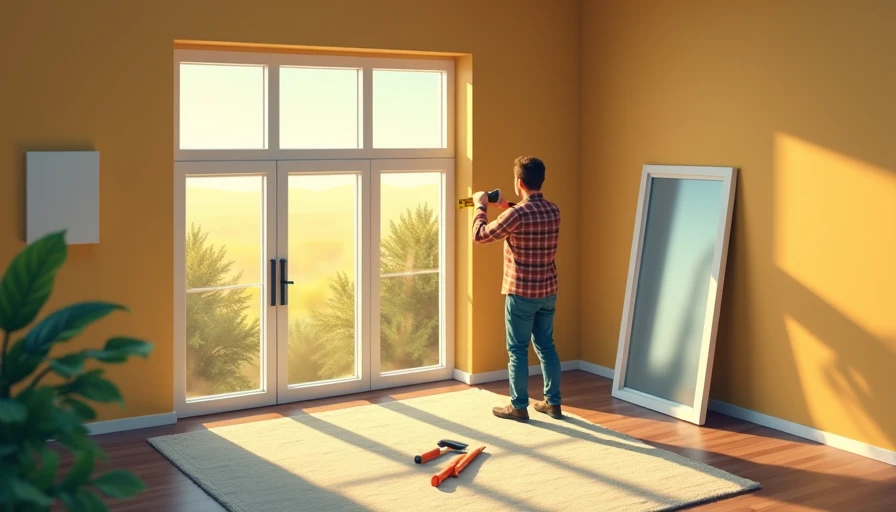
5. Decide: DIY or Hire a Pro?
If you are handy with basic carpentry and have helped install a window before, DIY is doable. If not, hire a licensed contractor. Improper installation voids the window warranty and can cause water damage that rots your wall framing. A pro will cost more but gets it done right. For me, if the project is more than six windows, I sub it out. It saves weeks of weekends and the risk of something leaking later. Another of my window replacement tips: if you DIY, watch a few full-length installation videos first—not just the highlights.
6. Understand Installation Sequence
Windows come with a set order: remove the old unit, inspect the rough opening for rot, apply new flashing, set the new window level and plumb, shim as needed, screw it in, insulate around the frame with low-expanding foam, then trim. Do not skip any step. Skipping flashing, for instance, guarantees water intrusion into your wall within a year. I like to stage my materials in the room before starting: all screws, shims, foam, and tools. That way you are not running to the garage halfway through.
7. Avoid Common Mistakes
Here are the top ones I see: ordering windows with wrong measurements (see step 4), using too much expanding foam (it bows the frame), forgetting to check for level after screwing, and not caulking the exterior properly. Also, do not paint the window sash shut. I did that once on a second-floor window—had to break it open. So these window replacement tips are hard-earned. Follow each one, and you will end up with quiet, energy-efficient windows that last twenty years.
In summary, window replacement is a big project but manageable with the right approach. Scope first, then sequence, then spend. Measure twice, pick the right material, and decide if you want to do it yourself or hire someone you trust. Keep these window replacement tips handy, and you will avoid the most costly errors. Follow the procedure and everything will be fine.


No signals yet — transmit the first.