
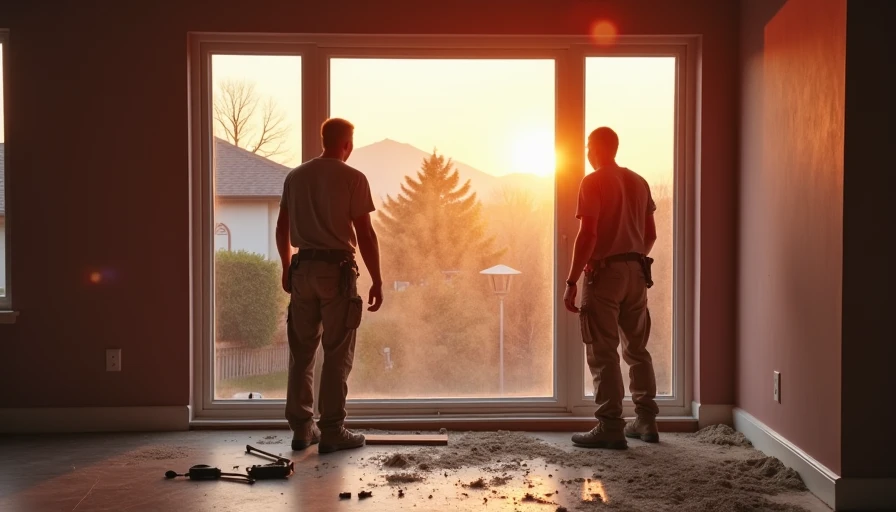
If you're tackling a window replacement project this year, you need a solid window installation guide before you pick up a pry bar. I've replaced windows in my 1989 home and helped neighbors do the same, and I can tell you: the difference between a job that lasts and one that leaks comes down to following a clear procedure. This window installation guide will walk you through every step, from measuring to final caulking, so you can save money and avoid common failures.
Why a Proper Window Installation Guide Matters
Skipping steps in window installation is like welding a bracket without checking the alignment – it might look fine at first, but it won't hold up. A poorly installed window leads to drafts, water damage, higher energy bills, and even mold. According to the Department of Energy, replacing old windows can save you $126 to $465 a year on energy costs, but only if the installation is done correctly. That's why following a reliable window installation guide isn't just about getting the job done; it's about protecting your investment. I've seen too many homeowners rush through the process and end up paying twice – once for the window and again for a contractor to fix the mess.
Tools and Materials You'll Need
Before you start, gather everything. Here's what a typical window installation requires:
- **New window unit** (double-hung, casement, or slider – make sure it's sized correctly)
- **Tape measure** (a good 25-foot one)
- **Level** (4-foot and torpedo)
- **Pry bar** and hammer
- **Utility knife**
- **Caulk gun** and exterior-grade caulk (like OSI Quad Max or DAP Dynaflex 230)
- **Shims** (plastic or cedar)
- **Screws** or nails (depending on the window type)
- **Insulation foam** (low-expanding, like Great Stuff Window & Door)
- **Weather-resistant barrier tape** (like Vycor or Zip)
- **Safety glasses** and gloves
Total cost for tools if you don't own them: roughly $50–$100. The new window itself will run $300–$800 for a standard vinyl double-hung, depending on the brand (e.g., Andersen, Pella, or Jeld-Wen).

Step-by-Step Installation Process
This window installation guide follows the manufacturer's typical recommendations, but always check your specific window's instructions first. These steps assume a framed opening with existing window removed.
Step 1: Prepare the Opening
Remove the old window and clean the rough opening. Scrape off old caulk and debris. Check the opening for square – measure diagonally; the two diagonals should be within 1/8 inch of each other. If not, adjust with shims or a plane. Also check level and plumb. This step sets the foundation for everything else.
Step 2: Apply Weather Barrier
Cut a piece of weather-resistant barrier tape and apply it to the sill and jambs, overlapping the house wrap. This prevents water from getting behind the window. Fold the tape into the opening like a pan – I learned this trick from a contractor friend after my first install had a leak.
Step 3: Install the Window
Set the window into the opening from the outside (if possible). Center it and check for level on the sill. Shim under the sill if needed. Then, with a level on the side jambs, shim the sides until the window is plumb. Screw or nail through the pre-drilled holes in the frame, but don't overtighten – you can bow the frame. Use a 1/8-inch gap between the frame and the opening for insulation.
Step 4: Insulate the Gaps
Fill the gaps around the window with low-expanding foam. Be careful – high-expanding foam can bow the frame. Spray in short bursts and let it expand. Wait 30 minutes, then trim off excess with a utility knife. This step seals the window and prevents air leaks.
Step 5: Exterior Trim and Caulk
Install the exterior trim (brick mold or casing) if not pre-attached. Caulk all seams – where the trim meets the siding and where the window meets the trim. Use a smooth bead and tool it with your finger or a caulk tool. Let it cure for 24 hours before painting.
Step 6: Interior Finishing
On the inside, install the window stops (if removed) and apply interior trim. Caulk the gap between the window and the drywall. Touch up paint if needed. Follow the procedure and everything will be fine.
Common Mistakes to Avoid
Here are the failure points I see most often in home window installations – this window installation guide aims to help you avoid them:
- **Incorrect measurements** – Ordering a window that's even 1/4 inch too big or small causes headaches. Always measure width at top, middle, and bottom, and use the smallest measurement.
- **Skipping the weather barrier** – Water will find its way in. Spend the $20 on tape.
- **Overdriving fasteners** – This warps the frame and makes the window hard to operate. Hand-tighten screws just until the flange touches the frame.
- **Using too much foam** – High-expansion foam can push the frame out of square. Use low-expansion foam only.
- **Not checking for square** – An out-of-square opening forces the window to twist, leading to binding sashes and air leaks. Spend time on prep.
When to Call a Pro
Not every window installation is a DIY job. If your home has stucco, EIFS, or any unusual siding; if you're installing windows above the second story; or if the rough opening is severely out of square (more than 1/4 inch), consider hiring a licensed contractor. A professional installation for a single window runs $150–$800, depending on location and complexity. Sometimes paying for experience is cheaper than fixing mistakes. But if you're comfortable with tools and follow a detailed window installation guide, most homeowners can handle a first-floor installation in a weekend.
Final Thoughts
Replacing windows is one of the best home improvements for comfort and resale value. With a solid window installation guide and careful work, you can get professional results. Measure first, then cut. Megan says I’m too rigid, but the process saved me again. Now get out there and make your home tighter.
Have questions? Drop them in the comments or check out my other guides on home improvement project planning.


No signals yet — transmit the first.