Perhaps, you’ve done the prep work and followed procedures on smaller jobs. But here’s where many projects quietly go wrong: that moment when something looks okay and you decide to move on.
I’ve said “looks fine to me” more times than I care to admit. Each time it cost me extra time, material, or money down the road. In manufacturing we never accept “looks good” as verification. We use gauges, checklists, and tests. The same discipline belongs in your garage and house.
Why “Looks Fine to Me” Is So Dangerous
Visual inspection alone misses critical issues because:
Many problems develop over weeks or months
Defects hide in low light or poor angles
Homeowners are usually excited to finish and move on
Small issues compound into major failures

In our 1989 house, with its multiple layers of previous repairs, this mindset has bitten me repeatedly.
Common failure modes triggered by “looks fine”:
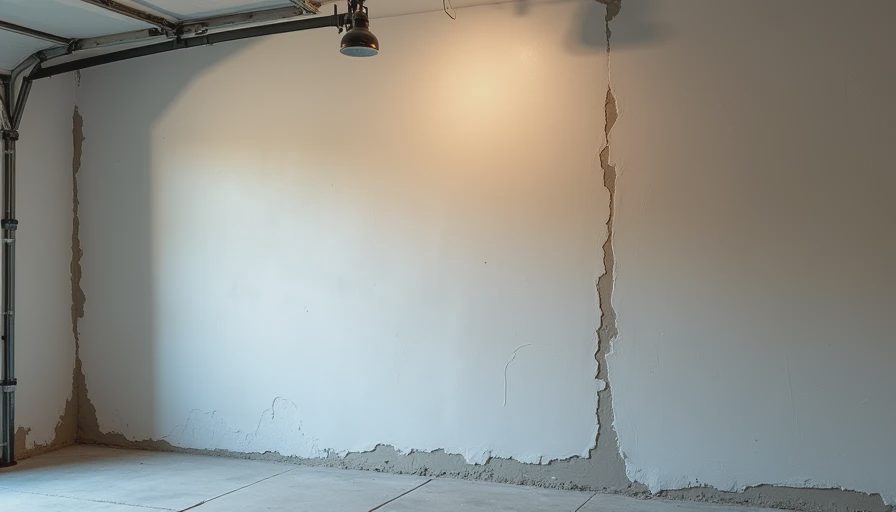
1. Paint and Drywall Issues
A patch looks smooth in normal light but shows every edge and dip under furniture lighting or at night. Paint applied over marginal prep starts failing six months later.
2. Moisture Problems
A small leak or high humidity spot looks dry today. Three months later you have soft drywall, mold, or warped flooring.
3. Structural Connections
A shelf bracket “feels solid” but wasn’t screwed into a stud properly. Six months later it pulls out with everything on it.
4. Plumbing and Electrical
A connection looks tight but has micro-leaks or poor wire contact. It fails after vibration or thermal cycling.
5. Sealing and Waterproofing
Caulk looks fine when first applied but shrinks and pulls away, letting water behind tile or windows.
If you rely only on “looks fine to me,” you may pay for it later with rework, higher material costs, and disrupted family life.
Real Examples from Our House and Garage
Two years ago I patched a wall in the laundry room. It looked perfect when I finished. Four months later the patch cracked along the edges because I hadn’t feathered it far enough and skipped proper priming. I ended up cutting out a larger area and redoing the whole section.
In the garage I mounted some overhead storage racks. The brackets “looked solid” and held my weight when I tugged on them. One rack eventually pulled away from the wall after a humid summer because I hadn’t hit enough solid wood. The falling bins damaged tools and created extra work.
The most expensive one was a backyard door threshold. It looked fine after I reinstalled it. The next spring we had water intrusion because the flashing wasn’t properly sealed. That led to baseboard replacement and subfloor repair. All avoidable with better verification.
Megan has caught me more than once saying “it’ll be fine” and gently reminded me of previous lessons. She’s usually right.

Better Verification Methods — Move Beyond Visual
Here is the inspection checklist I now use before calling any job complete:
1. Use Proper Lighting
Inspect under strong work lights at multiple angles, including grazing light that reveals texture and gaps. Never approve work under normal room lighting only.
2. Physical Testing
Run your hand over surfaces (feel for bumps, depressions, rough spots)
Tug on mounted items with significant force
Tap with a knuckle or small hammer to listen for hollow vs solid sounds
Apply pressure to caulk and seals
3. Instrument Verification
Moisture meter on any area near water sources
Voltage tester and circuit tester on electrical work
Level and straight edge on floors, counters, and shelves
Square for corners and alignments
4. Time and Environmental Testing
Where possible, let repairs cure fully and re-check after 24-48 hours, or after a humidity/temperature cycle.
5. Failure Mode Thinking
Ask yourself: “What could go wrong with this in the next 6-12 months?” Then test specifically for those risks.
Follow the procedure and everything will be fine.
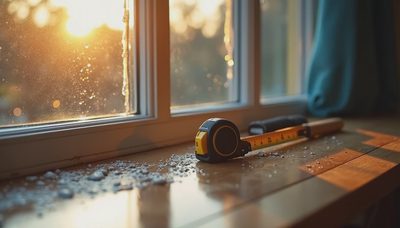
Tools That Help You See Past “Looks Fine”
Invest in these (most pay for themselves quickly):
Bright LED work light or headlamp ($25-60)
Digital moisture meter ($20-40)
Quality stud finder / wire detector
Long inspection mirror
Digital level (small torpedo style)
I keep this inspection kit in a dedicated orange bin in the garage. It comes out at the end of every project.

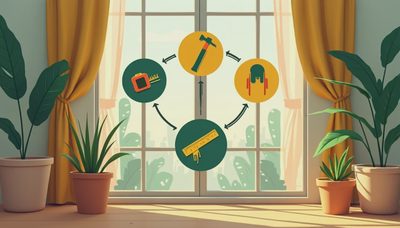
Building the Discipline of Thorough Verification
The shift from “looks fine” to rigorous verification is one of the highest-ROI changes I’ve made. Projects take slightly longer to complete, but they stay done. No callbacks. No disappointed looks from Megan. No surprise repairs during family time.
In the plant we have quality gates at the end of every process. I now treat the final inspection of home projects the same way. It’s not perfectionism — it’s preventing waste.
Next time you finish a repair, painting job, or installation and feel tempted to say “looks fine to me,” force yourself through the full verification checklist. Take photos before and after for your records. You’ll quickly notice the difference in quality and longevity.
Measure first (proper inspection with tools and multiple checks), then cut (declare the job complete). This habit separates homeowners who constantly fix things from those whose repairs last for years.
Your house will be more durable, your budget will stay healthier, and you’ll spend far fewer weekends on repeat repairs.


No signals yet — transmit the first.