OK!You’ve done the scoping. Now it’s time to execute. But execution without preparation is just expensive guessing.
I’ve started projects thinking I was ready, only to realize thirty minutes in that I was missing one critical item or hadn’t protected the floor. That’s when small jobs become weekend-wasters. In the plant we never start a line change without a full pre-start checklist. Same discipline applies at home.
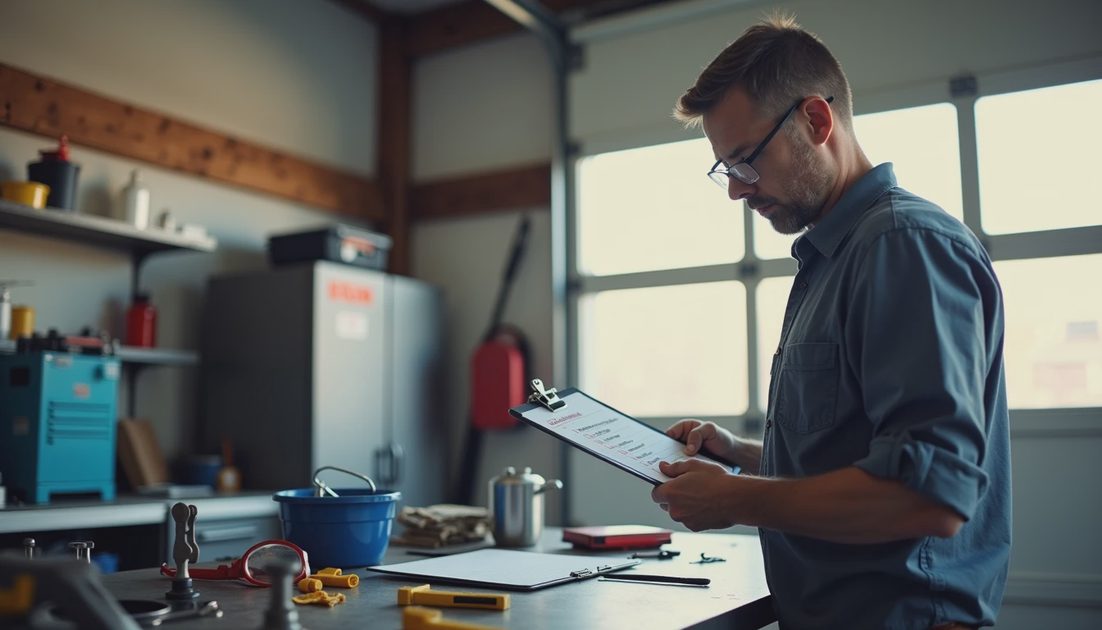
Here is the exact 7-step checklist I run before every DIY project — from changing a light fixture to patching drywall or organizing the garage. I print it or write it on a clipboard and physically check each box. No skipping.
Step 1: Re-Confirm Isolation and Safety
First thing, always: isolate energy sources.
Turn off the correct circuit breaker and test with a non-contact voltage tester.
For plumbing: shut off the main or local valves, open the faucet to release pressure, and have a bucket ready.
Gas appliances: shut off the valve and confirm it’s fully off.
I once skipped double-checking a breaker while replacing an outlet. The tester was in the other room. Lucky nothing happened. Now I verify twice and tag the breaker. Megan says I’m overly cautious. She’s right — and that caution has kept us safe.

If it involves main power, gas lines, or structural elements, stop and call a licensed pro. No exceptions.
Step 2: Assemble and Verify All Tools and Materials
Lay everything out on the workbench in the order you’ll use it. No “I’ll run to the store later.”
For a bathroom faucet replacement that means:
Basin wrench
Adjustable wrenches
Screwdrivers
Teflon tape
New supply lines if needed
Bucket and rags
Flashlight
Voltage tester
Caulk gun and caulk
Check expiration dates on adhesives and caulk. Count screws and nails. Walk through the procedure mentally and confirm you have every consumable. Missing one item mid-job usually means stopping with the water off and the sink disassembled. That’s how frustration builds.
Step 3: Prepare the Workspace and Protect the Area
Drop cloths, painter’s tape, plastic sheeting — use them religiously. Move anything that doesn’t need to be there. Protect floors, especially if you have Chloe running around later.
Create a clear staging zone for tools and parts. Label small bins if you’re pulling things apart: “Old Parts”, “New Parts”, “Hardware”. In the garage I use this habit constantly. It turns chaotic jobs into controlled ones.
Pro tip: Take “before” photos from multiple angles with your phone. You’ll thank yourself when putting things back together.
Step 4: Review the Scope and Sequence One Last Time
Read your scope document aloud or to yourself. Confirm success looks like exactly what you wrote. Then walk the numbered procedure step by step in your head.
This is where I catch assumptions I missed during initial scoping. Does this job create dust that will travel through the HVAC? Do I need to shut off the furnace? Is the weather forecast going to affect drying time if I’m painting?

Step 5: PPE and Personal Protection
Safety glasses, dust mask or respirator, gloves, knee pads if needed, ear protection for power tools. Closed-toe shoes. Phone charged and nearby but out of the work zone.
I keep a dedicated “Project PPE” bin in the garage. Nothing kills momentum faster than realizing you need to go find your mask while the joint compound is setting.
Step 6: Perform a Dry Run or Mock Assembly
For anything involving fitment — light fixtures, faucets, shelves, patches — do a dry fit first. Hold the new part in place without fastening. Check clearances, alignment, and function.
Last year when installing new garage shelving I did a full mock-up with cardboard templates. Caught two clearance issues before cutting any wood. Saved me a full redo.
Step 7: Final Go / No-Go Decision
Stand back, look at the prepared area, and ask:
Do I have everything I need?
Is the area protected?
Am I mentally and physically ready?
Is there any new risk I didn’t see earlier?
Do I have an exit plan if something unexpected appears?
If anything feels off, postpone 24 hours. Better to delay than push through fatigue or missing materials.
Follow the procedure and everything will be fine.
Why This Checklist Actually Works in Real Life
I’ve used this exact sequence on dozens of projects in our 1989 house. The bathroom faucet job that used to take me a full frustrating day now consistently finishes in under two hours with zero leaks. The drywall patches look clean on the first try. Garage organization projects stay organized because I don’t create new messes while fixing old ones.
One Failure Mode I see often: homeowners get excited, skip steps 1-3, and jump straight to demolition. Two hours later they’re at the store buying emergency parts while the family can’t use the bathroom or kitchen. That’s avoidable.
Measure first, then cut — this checklist is the “measure” part of execution.

My tool wall and workbench setup earned their spots precisely because I follow this process. Every tool has a home, and every project starts with the same disciplined prep. Megan calls it overkill sometimes, but she also appreciates not having half-finished projects lingering for weeks.
Making It a Habit
Print this checklist or keep a digital version on your phone. Laminate one copy for the garage. The first few times it feels slow. After that it becomes automatic and actually speeds you up.
Start with a small project this weekend. Replace an outlet cover, patch a nail hole, or reorganize one shelf. Run the full 7 steps. Notice how much calmer and more in control you feel.
The difference between amateur weekend warriors and homeowners who consistently finish projects isn’t talent or fancy tools. It’s procedure. They prepare properly. They verify. They protect the work area. They don’t create new problems while solving old ones.
Next time you’re tempted to “just get started,” force yourself through these seven steps. You’ll finish cleaner, safer, and with far less regret.
Scope gets you ready on paper. This checklist gets you ready in reality.


No signals yet — transmit the first.