If you live in a cold climate, ice dam prevention and ice water shield are two things you need to understand before winter hits. Ice dams form when snow melts on a warm roof and refreezes at the eaves, backing water up under shingles. An ice and water shield is a self-adhering membrane that seals the roof deck against that water intrusion. Combined, they are your best defense against expensive interior damage.
What Is an Ice Dam and Why Should You Care?
An ice dam is a ridge of ice that builds along the edge of your roof, usually in the gutter or soffit area. It forms because the attic is too warm, melting snow above while the eaves stay cold. The water runs down, hits the cold edge, and freezes. Eventually, water pools behind that ice and works its way under the shingles. This can lead to leaks, mold, rotted sheathing, and ruined insulation. Fixing the damage after an ice dam has formed can cost thousands of dollars. That is why ice dam prevention and ice water shield are worth planning for before the first snowfall.
How Ice Water Shield Fits Into the Picture
An ice water shield is a rubberized asphalt membrane that sticks directly to the roof deck. It is typically installed in strips along the eaves, in valleys, and around penetrations like chimneys and vents. When an ice dam forces water uphill under the shingles, the ice and water shield forms a waterproof barrier that stops the water before it reaches the wood. Building codes in many northern states now require ice and water shield in at least the first two rows of sheathing. But even if your code doesn't mandate it, installing it is one of the smartest moves you can make. Ice dam prevention and ice water shield work as a system: the prevention addresses the cause (heat loss), and the shield handles the effect (water entry).
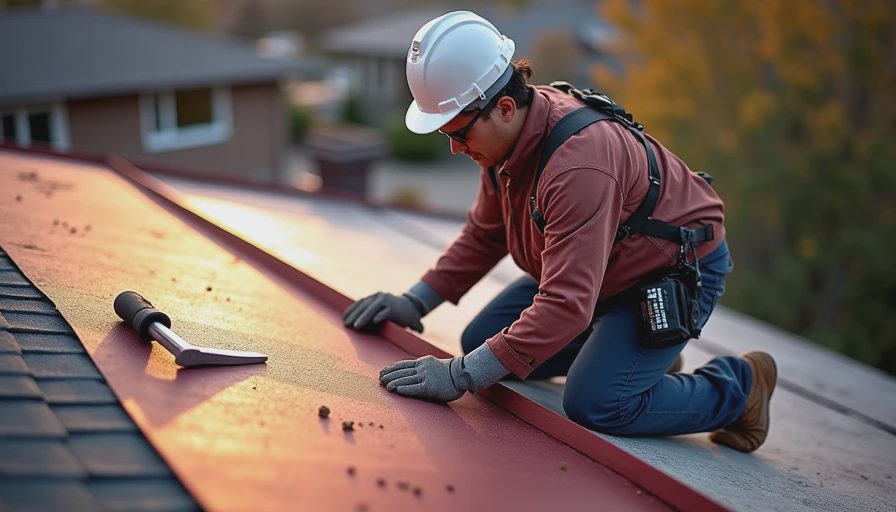
The Right Sequence for Ice Dam Prevention and Ice Water Shield Installation
Any good project manager will tell you that sequence matters. For ice dam prevention, start with attic air sealing and insulation. Heat loss from the living space warms the roof deck. Seal all penetrations—wiring holes, duct chases, recessed lights—and add enough insulation to hit R-49 or higher. Next, make sure attic ventilation is adequate. Soffit vents and ridge vents allow cold air to sweep under the roof deck, keeping it cold. Only after those steps should you focus on the ice water shield installation on the roof. The procedure is straightforward: clean the deck, roll out the membrane, peel the backing, and press it down. Overlap each row by six inches and seal the seams. Follow the manufacturer's instructions and everything will be fine.
Common Mistakes and Failure Points
I have seen homeowners skip attic sealing and only add the ice and water shield, thinking that is enough. It is not. If the roof stays warm enough to melt snow repeatedly, the ice dam will keep forming. The ice water shield is a backup, not a solution for a heat leak. Another mistake is installing the membrane incorrectly—not overlapping enough or failing to seal the edges. Cold weather makes the adhesive less tacky, so always install when the temperature is above 40°F if possible. Also, never walk on the ice water shield once it's in place; it can tear. These failure points turn a simple project into a costly repair. A proper ice dam prevention and ice water shield installation requires attention to detail.

Budget and Material Considerations
Expect to pay between $80 and $150 per roll for a standard ice water shield membrane like Grace Ice & Water Shield or GAF StormStop. A single roll covers about 200 square feet. For a typical two-foot-wide eave strip on a 1,500-square-foot house, you may need two to three rolls. Attic air sealing and insulation can run $1,000 to $3,000 depending on your current setup. If you hire a contractor for the roof work, add labor, but the membranes themselves are not expensive. Compare that to the potential $5,000 to $10,000 in interior repairs from a single bad ice dam leak. Investing in ice dam prevention and ice water shield now saves you money and stress later.
Final Checklist for Your Project
Before winter hits, go through this checklist:
- Seal all attic air leaks (lights, pipes, vents).
- Add insulation to at least R-49.
- Confirm soffit and ridge vents are clear.
- Install ice water shield on eaves (minimum 3 feet up from edge).
- Verify proper shingle overlap over the membrane.
- For existing homes, inspect attic deck for water stains after heavy snow.
Follow the procedure and everything will be fine. Ice dam prevention and ice water shield are not just buzzwords—they are the two layers of defense your roof needs to survive a harsh winter.
Frequently Asked Questions About Ice Dam Prevention and Ice Water Shield
How long does an ice water shield membrane last? Most quality membranes, such as Grace Ice & Water Shield, have a lifespan of 20 to 30 years when properly installed. They are designed to last as long as the roof covering itself. However, if you reroof, you may need to replace the membrane if it gets damaged during removal.
Can I install ice water shield myself? Yes, a handy homeowner can install it, but you should have a helper and work on a warm day (above 40°F) for the adhesive to stick well. Make sure the roof deck is clean, dry, and free of debris. Use a roller to press it down firmly. If you are not comfortable on a roof, hire a professional.
Does ice water shield replace the need for attic improvements? No. Attic air sealing and insulation are still the primary defense. The membrane is a secondary barrier. Without fixing heat loss, the ice dam will keep forming and may overwhelm the shield if the water gets high enough. Both are needed.
What is the best way to remove an existing ice dam? Do not use a hammer or pickaxe – you can damage the shingles. Instead, use a roof rake to pull snow off the lower edge (safely from the ground). For mild ice dams, calcium chloride socks laid perpendicular to the edge can melt a channel. For severe ice dams, call a professional with steam equipment. Never use salt, as it corrodes fasteners.





No signals yet — transmit the first.