I guess. You’ve planned the budget and executed smaller jobs cleanly. Flooring is where many homeowners try to save money and end up spending more later. I’ve replaced or repaired flooring in multiple rooms of our 1989 house. The cheap installs that failed taught me the most.
Manufacturers and big-box stores make “easy DIY” flooring sound foolproof. In reality, most failures come down to the same handful of skipped steps and bad decisions. Here are the ones I see repeatedly.
The Top Failure Points in Budget Flooring
1. Inadequate Subfloor Preparation
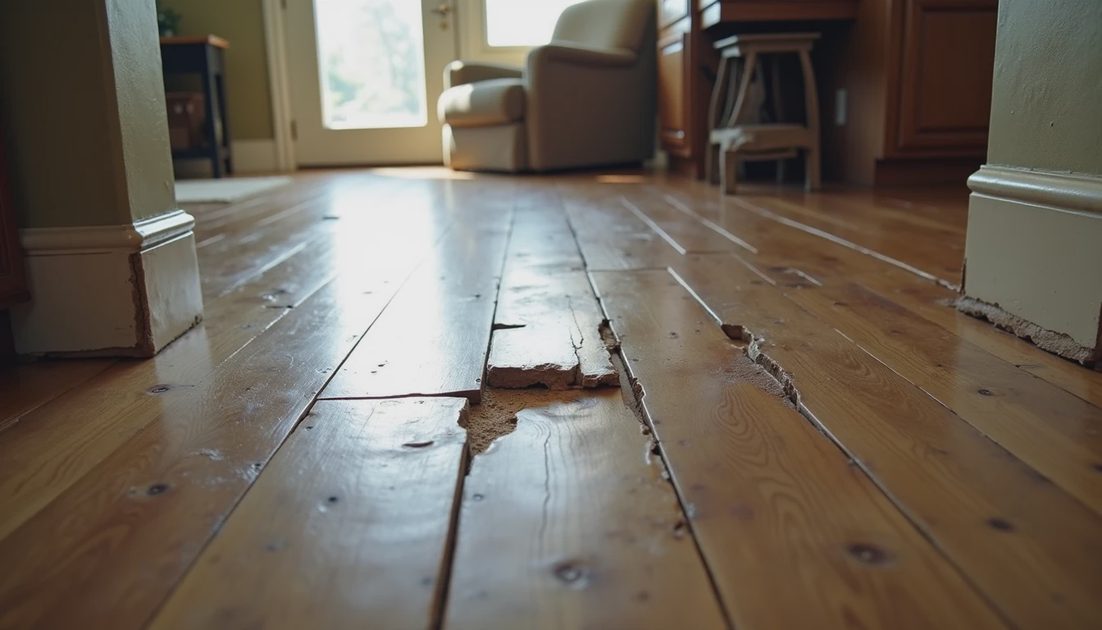
This is the number one killer. You lay new flooring over an uneven, dirty, or moist subfloor and it fails fast. Cheap laminate and vinyl plank especially telegraph every dip and bump. Within months you get clicking, hollow spots, or outright buckling.

In our hallway I once tried to save time by not fully leveling. Six months later we had a noticeable soft spot where the old particle board had slight movement. Had to rip it up and redo.
2. Wrong or Missing Underlayment
Budget installs often come with thin foam underlayment that offers almost zero moisture protection or sound dampening. In high-traffic or humidity-prone areas it compresses and disintegrates. I’ve seen seams separate and edges lift after one humid Indiana summer.
3. Improper Acclimation and Moisture Control
Bringing material in from the cold garage and installing the same day is asking for trouble. Wood-based products expand and contract. Skip acclimation and you get gaps in winter and buckling in summer.
4. Poor Expansion Gap and Edge Management
Cheap installs often have too-small or inconsistent expansion gaps. Baseboards get nailed tight against the flooring, leaving no room to move. When the material expands, it buckles upward in the middle of the room.
5. Weak Click-Lock Systems on Low-End Products
The cheapest planks have fragile locking mechanisms. One slightly misaligned tap and the joint is compromised forever. Later foot traffic makes it worse.
If you ignore these points, three to eighteen months from now you’ll be looking at visible seams, rolling floors, or water damage edges.
Early Warning Signs Homeowners Miss
Hollow sound when you walk (poor adhesion or subfloor issues)
Slight peaking or tenting at seams
Visible gaps that appear in winter
Soft spots or spongy feel underfoot
One or two planks that sit higher than the rest
Catch these early and you can sometimes repair locally. Wait too long and the whole floor needs replacement.
I learned the moisture lesson the hard way in the basement entry area. A small undetected leak combined with cheap vinyl caused mold under the flooring. That repair was expensive and messy.
How to Install Budget-Friendly Flooring That Actually Lasts

You don’t always need premium products. You need premium execution. Here’s my practical sequence:
Step 1: Full Subfloor Evaluation
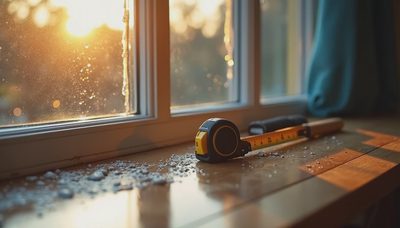
Use a straight 6-foot board or level to check flatness. Sand highs, fill lows with leveling compound. Moisture meter reading must be under 12% for wood subfloors. Clean thoroughly — no dust, no old adhesive.
Step 2: Proper Acclimation
Bring materials into the house 48-72 hours before install. Stack flat with air circulation. In Indianapolis basements or bathrooms, I add extra drying time.
Step 3: Quality Underlayment
Even with cheap flooring, spend a bit more on better underlayment with vapor barrier. Overlap seams properly and tape them.
Step 4: Controlled Installation
Maintain 3/8" to 1/2" expansion gap around all walls and fixed objects
Use tapping block and pull bar correctly — never hammer directly on the plank edge
Stagger end joints by at least 12 inches, preferably more
Check alignment every few rows with a string line
Step 5: Final Sealing and Transition Management
Use proper transitions at doorways. Caulk edges where flooring meets tubs or fireplaces if needed. Install baseboards after flooring so they cover the gap cleanly.
Tool investment that pays off: Good moisture meter ($25-40), quality tapping block and pull bar set, straight edge, and shop vac. These prevent most expensive mistakes.
Megan says I overthink flooring. Maybe. But our current installs have held up through kids, pets (we had one briefly), and normal family life without issues. The ones I rushed? Not so much.
Decision Framework: When Cheap Flooring Is Worth It
Cheap material + excellent installation = acceptable durability for low-traffic bedrooms.
Cheap material + average installation = frustration within two years.
Good material + excellent installation = peace of mind for a decade.
I always calculate total cost including removal of old flooring and subfloor work. Sometimes paying $1.50 more per square foot for better locking system and thicker wear layer is the real money saver.
Warning: In wet areas (bathrooms, laundry, entries) I strongly recommend waterproof rigid core vinyl plank over laminate, regardless of budget. The failure cost is too high.
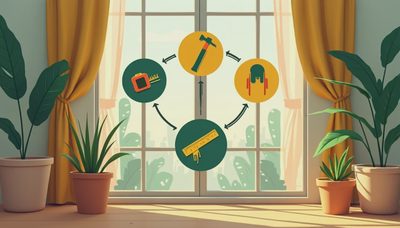
Make It a System, Not a One-Off

Treat flooring like any manufacturing process: incoming inspection (subfloor), material conditioning, controlled assembly, and quality checks at each station. Rushing any station creates defects downstream.
Next time you’re standing in the aisle looking at $1.29 vs $2.49 per square foot options, remember the failure modes. The extra dollar per foot is usually cheaper than ripping it up later.
Follow the procedure and everything will be fine. Measure first (subfloor flatness and moisture), then cut (install with discipline). Your floors will stay quiet, flat, and good-looking for years instead of becoming another expensive lesson.


No signals yet — transmit the first.