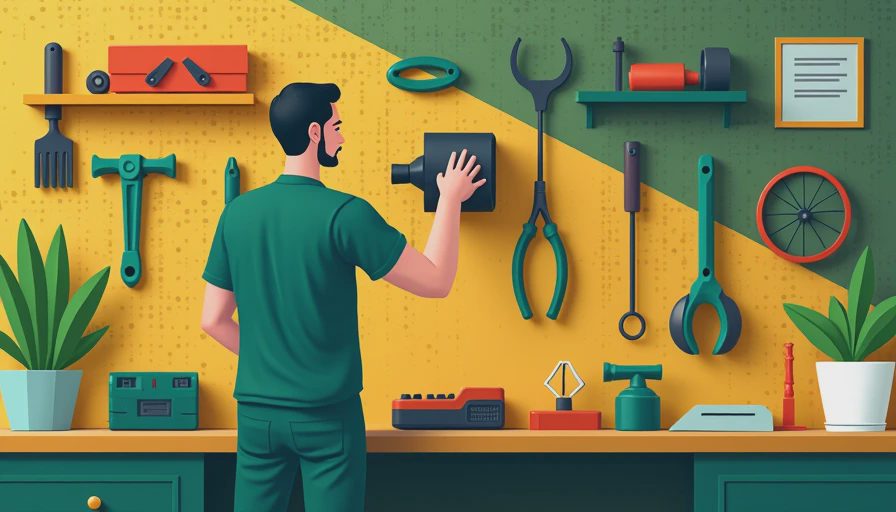
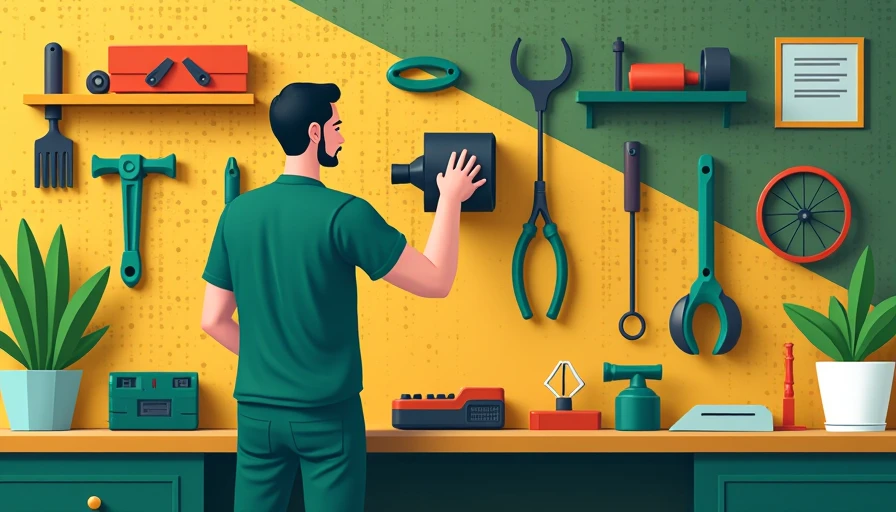
As a project manager, I've learned that a well-planned **tool wall setup** can transform your garage from a chaotic storage space into a functional workshop. Follow the procedure and everything will be fine. Whether you're a weekend DIYer or a serious hobbyist, a dedicated wall for your tools saves time, protects your investment, and keeps your workspace safe. But rushing into buying hooks and pegboard without a plan is a common mistake I've made myself. Let's walk through the process step by step.
1. Plan Your Tool Wall Setup Before Buying Anything
Before you drill a single hole, take inventory of every tool you own. Group them by type: wrenches, screwdrivers, pliers, hammers, power tools, and accessories. Note the frequency of use—tools you reach for daily should be at eye level, while seasonal items can go higher or lower. Measure your available wall space. A typical garage wall section is 8 feet wide by 4 feet tall. Don't forget to account for stud locations (16 inches on center) because any decent **tool wall setup** needs solid anchoring. Budget for the system: $100 to $300 for a basic pegboard setup, or $200 to $500 for slatwall. If you have a lot of heavy tools, French cleats are a sturdy option at $150 to $400. I once skipped the planning phase and ended up with a pegboard that was too small—I had to redo it six months later.
2. Choose the Right Wall System for Your Needs
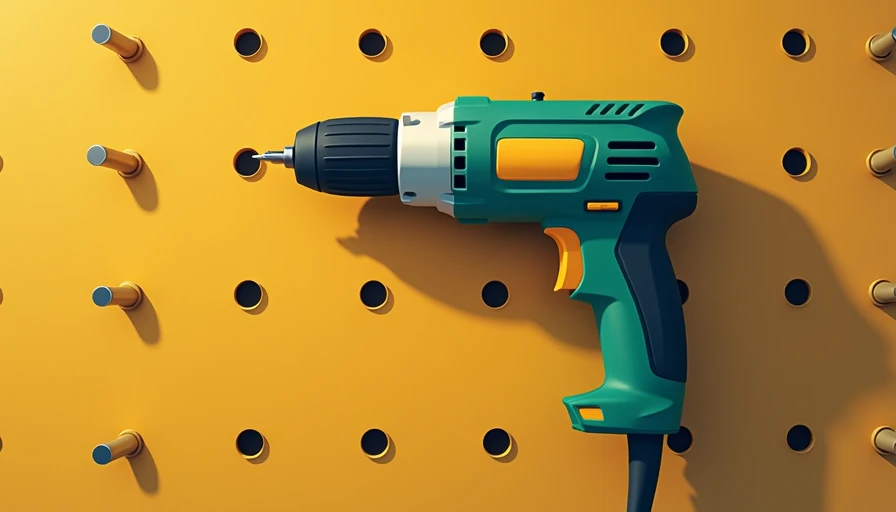
Pegboard is the most common and affordable choice. Standard 4x8 sheets run about $20 to $40, and hooks and accessories add another $30 to $100. It's great for hand tools and lightweight items. Slatwall panels, on the other hand, cost $50 to $100 per 4x8 sheet but offer more flexible mounting options and a cleaner look. French cleats are the strongest system, perfect for heavy power tools and large items like ladders. They consist of a cleat mounted to the wall and a matching cleat on the tool holder. The material cost for a 4x8 section is around $50 to $100 in plywood plus $30 for the cleats. Whichever system you choose for your **tool wall setup**, make sure it matches your tool weight and accessibility needs. I prefer French cleats in my own garage because they allow me to rearrange tools in seconds.
3. Install and Organize for Efficiency
Once you've selected your system, installation is straightforward. Mark stud locations, level your panels, and secure them with lag bolts or heavy-duty screws. For pegboard, use spacers to create a gap behind the panel for hooks. For slatwall, follow the manufacturer's instructions for horizontal leveling. French cleats require a 45-degree angle cut on both cleats. After mounting, arrange your tools in zones: most-used tools at center height, less-used tools above or below. Group similar tools together—screwdrivers in one column, wrenches in another. Use shadow boards (outlines) for tools you use daily to see immediately when something is missing. A good **tool wall setup** reduces search time and keeps tools from getting lost in drawers. Don't crowd the wall; leave room for future additions.
4. Avoid Common Tool Wall Setup Mistakes
One mistake I see often is overloading the wall. A single pegboard hook can hold about 10 pounds. Exceeding that leads to sagging or worse, a hook pulling out and tools crashing down. Use weight ratings as a guide. Another mistake is poor visibility—if you can't see the tool silhouette at a glance, the system fails its purpose. Leave at least an inch of space around each tool so you can grab it without moving others. Also, don't neglect safety: heavy tools should be secured with locking clips or cleats that prevent accidental dislodging. Finally, think about expansion. Your **tool wall setup** should have room for at least one or two new tools per year. I learned the hard way when I bought a new angle grinder and had to rearrange half the wall to fit it. Plan for growth from the start.
5. Maintain Your Tool Wall Setup Over Time
A tool wall isn't a set-it-and-forget project. Every six months, inspect the hooks and cleats for wear. Tighten any loose screws. Swap out seasonal tools—put winter gear like snow shovels in easy reach during cold months, and summer yard tools in spring. If you add a new tool, decide where it goes immediately and adjust the layout. This habit keeps your **tool wall setup** functional year after year. Megan says I'm too rigid about maintenance, but a few minutes of upkeep saves me from scrambling for a wrench when I need it.
Following these steps will give you a **tool wall setup** that works as hard as you do. Measure first, then cut. Plan before you buy. And always leave room for the next tool. Follow the procedure and everything will be fine.
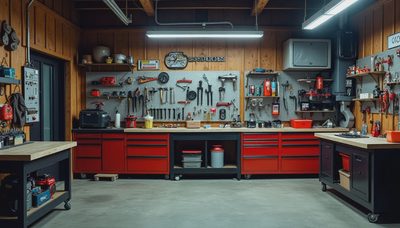
6. Real-Life Example: Transforming a Messy Corner into an Efficient Tool Wall Setup
Last year, a friend asked me to help him organize his garage. He had a jumble of tools piled on a workbench and spilling onto the floor. We started from scratch: measured the wall, inventoried his collection, and decided on a French cleat system because he had several heavy power tools like a miter saw and a planer. Over one weekend, we built the cleats, mounted a plywood backer, and created custom holders for each tool. The cost was around $200 for materials. The result? He can now grab his circular saw in seconds instead of digging through a heap. That real-world transformation shows the value of a proper **tool wall setup**—it's not just about looking tidy; it's about making your workspace work for you.


No signals yet — transmit the first.