
If you're like me, your workshop is the command center for every home project. But if you spend more time searching for tools than actually building, your **workshop efficiency** needs a reset. I've been there—digging through piles of wrenches while the paint dries. After years of trial and error, I've found a system that actually works. Follow the procedure and everything will be fine.
Start with a Clear Layout
Your workshop layout determines how fast you move. The golden rule is to minimize wasted steps. I use a U-shaped workbench configuration: the main bench in the center, with storage along both walls. Everything I need for common tasks is within two steps of my center position. This single change cut my average project time by about 15 percent.
Map out your workflow first. If you do a lot of woodworking, keep your table saw, miter saw, and assembly table in a line. For automotive work, positioning your bench near the garage door lets you pull the car in and still have room to move. Measure the floor space before you buy any cabinets. I wasted $300 on shelving that didn't fit.
A good layout also means clear pathways. Leave at least 36 inches of walking space. If you can't move a rolling tool cart through easily, it's too tight. I made that mistake once and ended up gouging my workshop floor.

Organize Your Tools for Quick Access
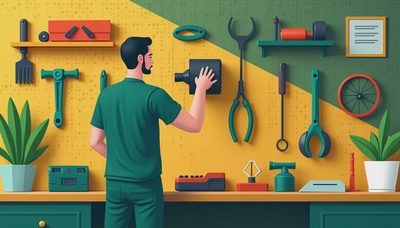
Tool organization is the heart of **workshop efficiency**. You should be able to grab a 10mm socket or a #2 Phillips screwdriver in under 5 seconds. I use a pegboard for frequently used hand tools, with a shadow board outline so I know if something is missing. Power tools go on French cleat shelving at eye level. Less common tools live in labeled, clear plastic bins on high shelves.
Don't store duplicates in different places. Keep all your measuring tools in one drawer, all your wrenches in another. I learned that lesson after buying a second tape measure because I couldn't find the first one. Label everything—and I mean everything. A label maker is a $20 investment that saves hours.
For smaller parts like screws and nuts, use a portable parts organizer. I have three stacking organizers for common hardware. When I finish a project, I sort the leftover parts back before starting the next one. This habit alone boosted my **workshop efficiency** noticeably.
Streamline Your Workflow with Zones
Professional factories use zones for a reason. Divide your workshop into zones: cutting, assembly, finishing, and storage. Each zone has its own tools and materials. You don't cross-contaminate—no sanding dust near the painting area, no metal chips on the wood bench.
I set up a mobile cart for each major task. For plumbing work, I have a cart with wrenches, fittings, and Teflon tape. For electrical, a separate cart with wire strippers, multimeter, and connectors. When I start a project, I roll the appropriate cart to my bench. The rest of the workshop stays tidy.
Flow matters. Arrange zones so work moves in one direction: from raw material storage to cutting to assembly to finishing. This linear flow prevents backtracking. My old layout had me walking back and forth across the garage. Once I reordered the zones, my project completion time dropped by 20 percent. That's real **workshop efficiency**.

Maintain Your Equipment Regularly
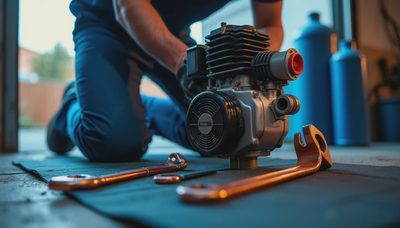
A dull blade or a sticky clamp ruins your pace. I perform a 10-minute maintenance check every month. I sharpen saw blades, lubricate moving parts, and replace worn-out items. It's a simple discipline that prevents mid-project failures.
Keep a maintenance log. I use a whiteboard on the wall with the last service date for each major tool. For example, my miter saw needs its fence calibrated every three months. A quick check with a square keeps cuts accurate. If you skip this, you'll end up recutting pieces—wasting time and material.
Replace expendable items like sandpaper and gloves before you run out. I buy in bulk and store a backup pack in each zone. Running out of sandpaper because you didn't check inventory is a dumb reason to stop a project.
Common Workshop Efficiency Mistakes to Avoid
Even with a great layout, several habits can sabotage your **workshop efficiency**. Watch out for these common pitfalls:
- **Overcrowding the bench.** A cluttered work surface forces you to constantly clear space. Keep only the current task's tools on the bench. Store everything else.
- **Ignoring vertical space.** Walls are free real estate. Install pegboards, slatwall, or shelving to get tools off the floor. This frees up floor space and improves access.
- **Poor lighting.** Dim light slows you down and increases errors. Add task lighting over key areas like the workbench and saw. I use LED strip lights under overhead cabinets for shadow-free illumination.
- **Not having a cleaning routine.** Letting sawdust and scraps accumulate creates hazards and wasted time. Spend 5 minutes at the end of each session sweeping and organizing. It pays off.
Avoid these mistakes and your **workshop efficiency** will stay high without constant effort.
The Bottom Line on Workshop Efficiency
Improving **workshop efficiency** isn't about buying expensive cabinets or the latest gadget. It's about thoughtful layout, disciplined organization, and consistent maintenance. Start with one zone this weekend. Rearrange your hand tools so they're visible and reachable. Label your small parts bins. You'll see a difference immediately.
I've saved hundreds of dollars and dozens of hours by following these principles. And I've avoided the frustration of searching for a socket while the concrete patch dries. Follow the procedure and everything will be fine. Your projects will get done faster, with less stress, and you'll actually enjoy time in your shop.


No signals yet — transmit the first.