If you're installing new windows in your home, following window flashing best practices is the single most important thing you can do to prevent water damage. Skip this step or do it wrong, and you’re looking at rot, mold, and expensive repairs down the road. I’ve seen it happen more than once in my own projects and in friends’ homes. Here’s the procedure I follow every time.
Why Window Flashing Is Non-Negotiable
Window flashing is a waterproofing layer that directs rainwater away from the window opening. Without proper flashing, water that runs down the siding can seep behind the window frame and into the wall cavity. Over time, this leads to wood rot, compromised insulation, and even structural damage. Many homeowners think caulk alone will seal the gap, but caulk shrinks and cracks over time. Flashing provides a secondary barrier that keeps water out even if the caulk fails. Building codes now require proper flashing in most areas, and for good reason. The basic concept is simple: you want water to run over the top of the window, down the sides, and out at the bottom. Each piece of flashing should overlap the piece below it, like shingles on a roof. If you reverse the overlap, water gets behind the flashing and into the house. This is one of the most common mistakes I see in DIY window installations. I've installed windows in my own 1989 home and helped friends with theirs. Every time, the difference between a leaky window and a dry one came down to how well the flashing was applied. Don't underestimate this step.

Step-by-Step Window Flashing Best Practices
Follow these steps for a reliable installation. I’ve refined this sequence over many projects, and it works.
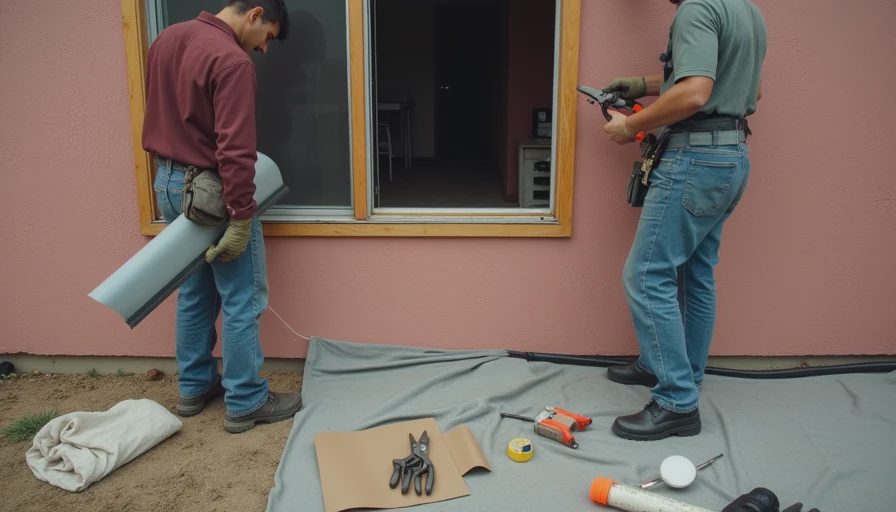
**Step 1: Prepare the rough opening.** Clean the sill, jambs, and header. Remove any dirt, old caulk, or debris. The surface must be dry and dust-free for the flashing tape to adhere properly. A quick wipe with a tack cloth or rubbing alcohol helps.
**Step 2: Install the sill pan.** Cut a piece of self-adhered flashing tape long enough to span the sill and extend up each jamb about 6 inches. Center it on the sill, then press it down firmly, working from the center out to remove air bubbles. The tape should wrap up the jambs to create a pan. This is your first line of defense against water that gets past the window.
**Step 3: Apply jamb flashing.** Cut strips of flashing tape for each side jamb. The strips should be wide enough to cover the jamb and extend onto the wall sheathing. Install them starting at the bottom, overlapping the sill pan. Work upward, pressing firmly. The overlap ensures water flows downward and outward.
**Step 4: Set the window.** Place the window into the opening. Use shims to level and plumb it. Nail through the flange into the framing, but don’t overdrive the nails—leave a slight gap to prevent warping. Check operation before moving on.
**Step 5: Flash the sides and head.** Apply jamb flashing tape over the window flange on each side, extending onto the wall. Then cut a head flashing piece for the top. The head flashing should overlap the side pieces and extend beyond the window width by at least 2 inches on each side. Tape the top edge of the head flashing to the house wrap or weather-resistant barrier above the window.
**Step 6: Integrate with the weather-resistant barrier.** If you have house wrap, apply a strip of flashing tape over the top edge of the head flashing and onto the wrap. This shingle-lap ensures water on the wall surface runs over the window, not behind it.
Following these window flashing best practices will save you from future headaches. I always tell homeowners: take your time on this part. It’s not glamorous, but it’s the most critical step in any window installation.
Common Window Flashing Mistakes to Avoid
Even experienced DIYers make errors. Here are the ones I see most often:
- **Skipping the sill pan.** Many installers think the window frame alone will keep water out, but water can wick under the frame. A sill pan catches that water and directs it outside.
- **Wrong overlap direction.** If you install the flashing so the top piece is under the bottom piece, water will be trapped behind it. Always overlap from bottom to top on vertical surfaces.
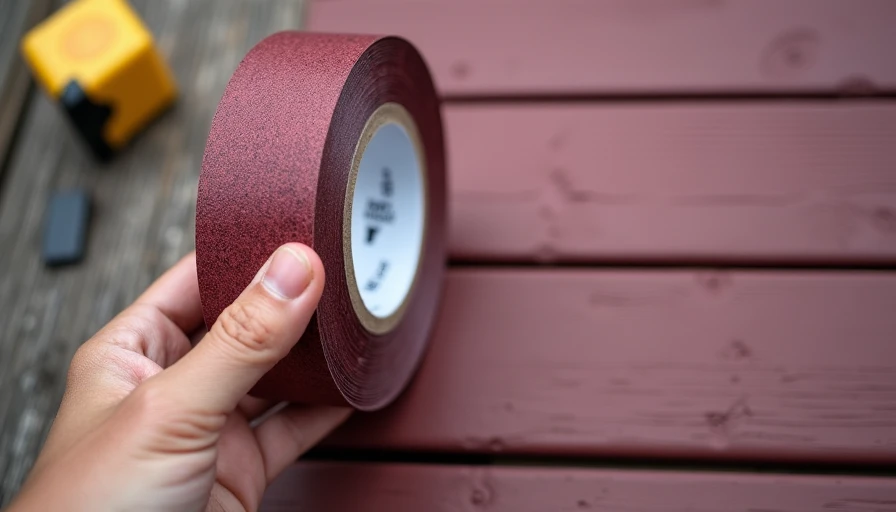
- **Using the wrong tape.** Standard duct tape or low-quality flashing tape degrades in UV light. Use a rated self-adhered flashing tape designed for windows and exterior use. Brands like Grace Vycor, ZIP System, or Henry Blueskin are reliable.
- **Not cleaning the surface.** Dirt and dust prevent adhesion. Even a little bit of dust can cause the tape to fail over time. Wipe down the area with alcohol if needed.
- **Relying only on caulk.** Caulk shrinks and cracks. Flashing is the primary seal; caulk is backup. Don’t skip one for the other.
Avoid these mistakes and your windows will stay dry for decades.
Tools and Materials for Proper Window Flashing
Here’s what you’ll need:
- Self-adhered flashing tape (6-inch or 9-inch wide rolls)
- Utility knife and straightedge
- Caulk gun and exterior-grade sealant
- Shims (plastic or cedar)
- Hammer and galvanized nails or a nail gun
- Tape measure and level
- Clean rags and rubbing alcohol for surface prep
Budget for a small project (2-3 windows) is about $50–$100 for flashing tape and sealant. The investment is tiny compared to the cost of repairing water damage.
When to Call a Pro
If you’re uncomfortable working at heights or your window is in a tricky location (like a second-story gable), hire a licensed contractor. Window flashing is not the place to cut corners. That said, if you have basic carpentry skills and follow the procedure, you can handle most installations yourself.
Follow the procedure and everything will be fine. Window flashing best practices may seem tedious, but they’re the difference between a dry home and a costly repair. Take your time, sequence the work correctly, and you’ll be proud of the result.


No signals yet — transmit the first.