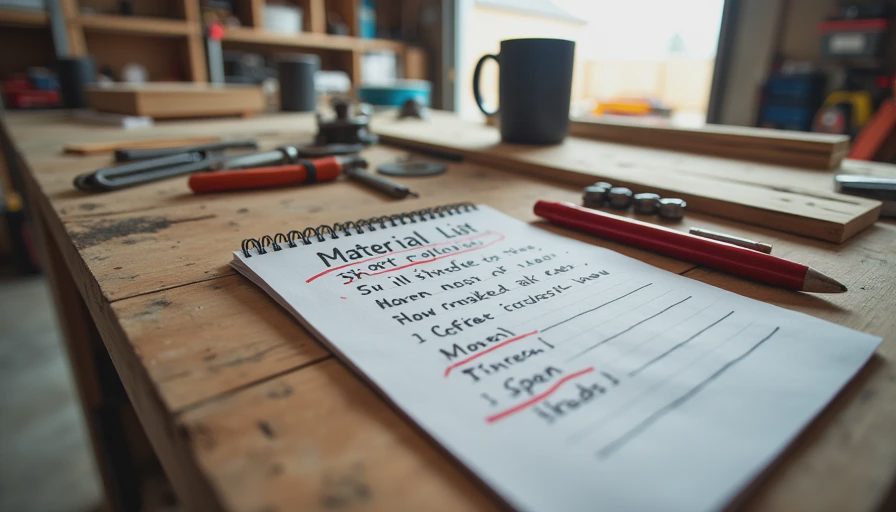
I suppose, you’ve scoped the project and set an initial budget range. Now you sit down to make the material list. If it looks too short and tidy, your budget is almost certainly too optimistic.
I’ve made this mistake more times than I should have. A “simple” garage shelving project with a short list ended up costing 70% more because I forgot consumables, waste, and the extra hardware I needed once I started. After a few painful lessons, I developed a stricter takeoff discipline that now catches most hidden costs before I buy the first item.
Why Short Material Lists Destroy Budgets
A short list usually means you’re only thinking about the obvious finished materials. You miss the supporting cast — the stuff that actually makes the job possible and accounts for real-world conditions.
In our 1989 house, with its slightly out-of-square walls, previous repairs, and typical Midwest wear, short lists are especially dangerous. What looks like a $220 project on paper quietly becomes $380–$450 once reality hits.

Common missing categories that blow up budgets:
Waste and cutting loss (10-20% on sheet goods, flooring, trim)
Consumables (sandpaper, tape, caulk, blades, glue, fasteners)
Hardware and connectors (extra screws, brackets, anchors)
Tools or accessories you don’t own yet
Protection materials (drop cloths, plastic sheeting, masking tape)
Disposal and cleanup supplies
Primer, caulk, and transition pieces
Contingency for discoveries once walls come open
If your material list looks too short, three months from now you’ll be making emergency runs to the store and watching the budget creep upward.
How I Build a Complete Material Takeoff
I use a simple four-column sheet: Item | Quantity | Unit Price | Total. Then I add rows for contingency.
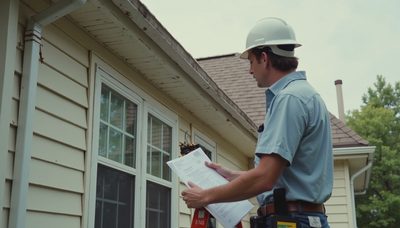
Step 1: Walk the Job Physically
Don’t do this from memory or a quick glance. Go to the actual location with tape measure and notepad. Measure twice. Note existing conditions that will require extra material.
Step 2: Break It Down by Task
List every single step and what it consumes. For a drywall patch project I now list:
Drywall piece (size + 20% extra)
Mesh tape (full roll even if I only need a bit)
Setting compound (bag)
Premixed compound (tub)
Multiple grits of sandpaper
Primer and paint for blending
Drop cloth and tape
Screws or nails
Disposal bag
Step 3: Add Waste Factors
Sheet goods and flooring: +15%
Fasteners and consumables: +20-30%
Paint: always buy an extra quart
Step 4: Research Real Prices
I walk the aisles or check current online prices and record low-high ranges. Never use last year’s prices.
Step 5: Add 20% Overall Contingency
For small jobs 20%. For anything involving opening walls or older house unknowns, I use 25-30%. This line item has saved me repeatedly.

Follow the procedure and everything will be fine.
Real Examples from Our House
Last fall I planned new garage pegboard and shelving. My first list was short and looked like $280. After forcing myself through the full takeoff I added:
Extra plywood for bracing
More lag screws and washers
Additional French cleats
Paint for the pegboard
Anchors for the wall
Disposal of old shelving
Final realistic range landed at $410–$520. Actual spend was $467. No stress, no surprises.
Contrast that with an earlier baseboard project where I used a short list. I ran out of quarter-round, caulk, and the right color filler mid-job. Two extra trips and $140 later I learned my lesson.
Megan saw me redoing the list at the kitchen table and said, “Again with the spreadsheets?” She may be right that I’m detailed, but the process has prevented at least three budget overruns in the past two years.
Practical Checklist for Complete Takeoffs
Before you buy anything, run your list against this:
Do I have every consumable needed for prep, install, and finish?
Did I add waste allowance for each cut material?
Are protection and cleanup items included?
Have I accounted for discoveries (extra patching, wiring, etc.)?
Does the total feel too clean? If yes, go back and add 20%.
Did I include tax and delivery if ordering online?
If the list still looks short after this, I force myself to walk the job again or get a contractor quote just for benchmarking.
Key rule I live by: If the material list looks too short, the budget probably is too. Trust that feeling and expand it.
Integrating Takeoff with Overall Budget
I now combine the detailed takeoff directly into my budget worksheet. This gives me clear visibility into where money is going and makes negotiating with contractors easier when I can point to specific missing items in their quotes.

For repeat project types (drywall patches, faucet jobs, shelving) I keep template lists in a folder. They get refined over time and make future scoping much faster.
Make Thorough Takeoffs a Habit
Start with your next small project. Force the full detailed list even if it feels excessive. Compare the planned vs actual cost afterward. After a few projects you’ll develop an intuitive sense for what a complete list should look like in your house.
The best homeowners aren’t the ones who guess closest on the first try. They’re the ones who assume reality will be messier than the plan and build buffers accordingly.
Measure first (complete and honest material takeoff), then cut (buy with confidence). This single discipline separates projects that stay comfortably within budget from those that quietly spiral.
Do this consistently and you’ll spend far less time worrying about money and far more time actually completing the work.


No signals yet — transmit the first.