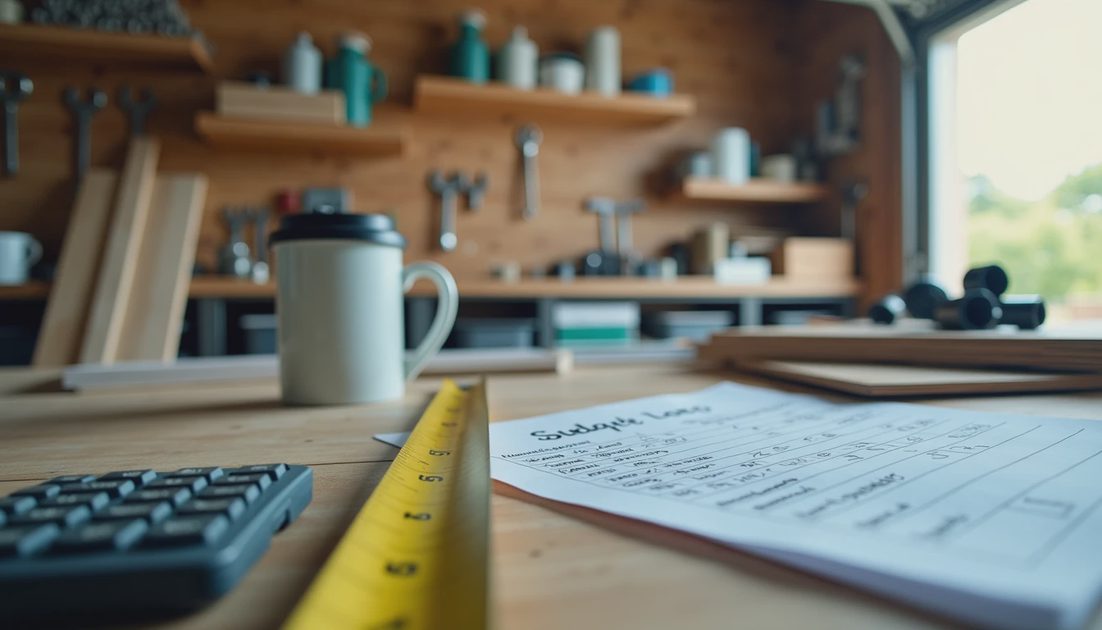
Scope is defined and you’ve run the checklist. Now comes the part that separates projects that finish comfortably from those that become financial stress tests: setting a realistic budget range before you buy one single screw.
I learned this the hard way early in our house. I’d eyeball costs, buy materials as I went, and inevitably end up $400–$800 over on small jobs. After a few painful lessons I developed a repeatable method that gives me a tight but honest range every time. No guessing. No surprises at the end.
Why Most Budgets Fail Before the First Purchase
Homeowners usually do one of two things: they pick a nice round number they “feel” is reasonable, or they add up the obvious materials and stop there. Both approaches bite you.
Real projects have layers of cost most people miss on the first pass:
Waste and cutting losses (10-15% on lumber, flooring, etc.)
Consumables (sandpaper, tape, caulk, blades, glue)
Tools or accessories you don’t already own
Disposal fees and dump runs
Unexpected discoveries once you open the wall or floor
Tax, delivery, or rental equipment

If you ignore these, your “$300 project” quietly becomes $650 before you know it.
In my manufacturing role we build detailed cost models with contingencies before approving any line change. I use the same discipline at home. It takes an extra 45 minutes but has saved me thousands over the years.
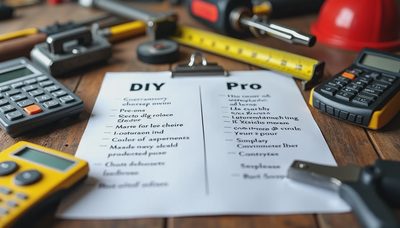
My Exact Budget Range Process
I follow these steps in order, always on paper or a simple spreadsheet.
Step 1: Break the project into clear categories
I use four buckets:
Materials (everything that stays in the finished job)
Consumables & Supplies (things that get used up)
Tools & Equipment (if purchase or rental needed)
Labor (DIY time value or pro quotes)
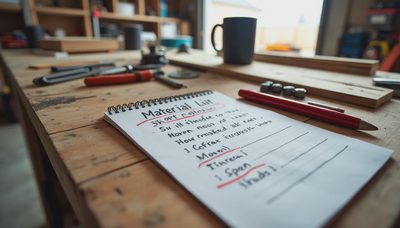
Step 2: Create detailed material takeoff
Count every piece. For a bathroom faucet replacement I list:
New faucet
Supply lines (often need replacement)
Shut-off valves if old ones are seized
Escutcheons or deck plate
Caulk
Plumber’s putty or tape
Cleaning supplies
I add 15% waste/contingency on anything cut or measured on site.
Step 3: Research current pricing with ranges
I walk the aisles or check online and record low-high ranges. Example:
Decent quality bathroom faucet: $65–$135
Supply lines: $18–$32
Misc consumables: $12–$25
Never use the absolute cheapest price as your base. I usually budget at the middle to upper end of reasonable quality.
Step 4: Add contingency and hidden costs
I apply 20% overall contingency for small jobs, 25-30% for anything involving walls or floors. This covers the surprises that almost always appear in a 1989 house.
I also add fixed costs:
Dump fee or disposal: $0–$75
Permit if needed: $0–$150
Tool rental (wet saw, etc.): $0–$80
Step 5: Calculate the final range and decision thresholds
Low end = solid but minimal plan
High end = includes contingency and better materials
Example for a small drywall repair and repaint:
Low: $85
High: $165
If a contractor quote comes in above my high end, I know either they’re including extra work or I missed something. Either way I investigate before approving.

Follow the procedure and everything will be fine.
Real Budget Examples from Our House
Last spring I replaced the outdoor spigot and added a frost-free model with better backflow prevention. My initial guess was $80. After proper takeoff I landed at $140–$210 range. Actual spend: $178 including some pipe repair I found once I opened the wall. No stress, no emergency runs to the store.
Compare that to the garage shelving project I did before I had this system. I kept buying “a few more brackets” and ended up almost double my mental number. Frustrating and unnecessary.
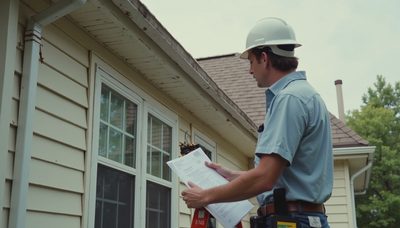
For bigger jobs I always get at least one contractor quote purely for benchmarking. Not to hire them necessarily, but to see line items I missed. Last year on a hallway flooring prep job their quote helped me catch underfloor leveling compound I would have needed.
Key rule: If the material list looks too short, the budget probably is too. Add the hidden stuff.
Common Budget Traps and How to Avoid Them
The “While I’m In There” Trap You open the wall for one repair and see three other things that need fixing. Budget 25% extra when opening walls or floors.
Price Creep on Upgrades You start with basic paint and end up wanting better trim or fixtures. Decide quality level before you start shopping.
Forgetting Time Value Even on DIY jobs I assign a rough hourly value to my time. Helps decide whether a project is actually worth doing.
Seasonal and Regional Pricing In Indianapolis, spring and summer material prices can jump. I try to buy major materials off-season when possible.
Megan says I’m too rigid when I sit at the table making these lists with my red pen. She may be right, but the process has saved us from at least three projects that would have quietly ballooned into expensive headaches.
Make Budgeting a Standard Procedure
You don’t need fancy software. A legal pad, current store flyers, and honest assessment work fine. Save your completed budget sheets in a folder. Over time you’ll build your own reliable cost database for common repairs around your house.
Next time you’re thinking about a project, force yourself to run the full budget process before buying anything. You’ll make better decisions about whether to DIY, when to hire help, and what quality level actually makes sense.

The best projects aren’t the ones with the biggest budgets. They’re the ones that stay within realistic ranges because you did the homework first.
Measure first — in dollars and materials — then cut. Your bank account and weekend sanity will both thank you.


No signals yet — transmit the first.