Good. Windows and roofing are not weekend warrior projects. These are major capital investments that can easily run $8,000 to $35,000+ depending on scope. Get them wrong and you’ll pay for it in energy bills, water damage, or premature replacement. I’ve handled both on our 1989 house in Indianapolis and helped evaluate them for neighbors. The same project management discipline I use at the plant applies here: define scope clearly, understand failure modes, build realistic budgets, and separate homeowner-safe work from licensed pro work.
Let’s walk through how I approach these projects so you don’t get taken for a ride.
Why Windows and Roofing Require Serious Scoping
Unlike faucet replacements or drywall patches, these jobs affect the building envelope. They impact energy efficiency, structural integrity, water management, and resale value. In Indiana’s climate — hot humid summers, freezing winters, heavy rain and occasional ice — mistakes show up fast and expensively.
Typical cost ranges in our area (2025-2026 pricing):
Windows: $450–$950 per window installed (standard double-hung, vinyl or fiberglass)
Full house window replacement (15-20 windows): $9,000–$22,000
Roofing (asphalt shingles, 1,800-2,200 sq ft): $7,500–$14,000 for basic 3-tab; $12,000–$25,000+ for architectural or premium
Tear-off and disposal usually included, but always confirm
If a quote falls significantly below the low end of these ranges, something is missing — usually proper flashing, underlayment, or disposal.

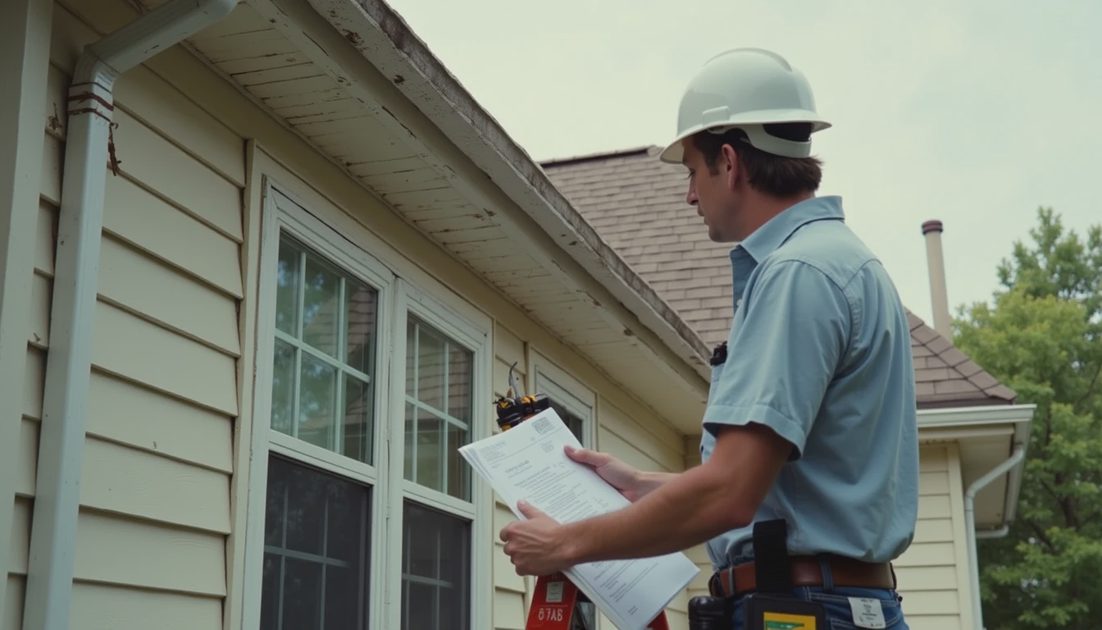
Step 1: Thorough Condition Assessment (Measure First)
Never hire or buy based on a quick look. I do a full inspection and document everything.
For Windows:
Check for fogging between panes (failed seals)
Test operation — do they stick, leak air, or show condensation?
Inspect sills and trim for rot or water damage
Measure rough openings accurately (multiple times)
Use a moisture meter around frames
Note existing window type, glazing, and energy rating
For Roofing:
Walk the roof safely or use binoculars/drone
Look for curling, missing granules, cracked shingles
Check flashing around chimneys, vents, valleys
Inspect attic for leaks, stains, or insulation damage
Evaluate ridge vents, soffit ventilation
Note number of existing layers (most codes allow only two)
I once thought our front windows just needed cleaning. A proper inspection revealed failed seals and minor sill rot that would have led to bigger water intrusion. Catching it early changed the scope from cosmetic to necessary replacement.
Failure Mode Warning: If you ignore early signs like ice dams on the roof or foggy windows, you’ll face interior damage, higher energy bills ($200–$600 extra per year), and mold issues within 2-3 years.
Step 2: Define Clear Scope and Success Criteria
Write exactly what “done” means.
Example Window Project Scope:
Replace 12 existing windows with energy-efficient double-hung, Low-E argon-filled units
Include new exterior trim, interior casing, and proper flashing
Remove and dispose of old windows
Maintain or improve current opening sizes
Meet local energy code requirements
Example Roofing Project Scope:
Tear off existing two layers down to deck
Replace any damaged sheathing
Install new ice-and-water shield in valleys and eaves
New architectural shingles with 30+ year warranty
New flashing, ridge vent, and chimney cricket if needed
Full cleanup and disposal
Be specific. Vague scope is where change orders hide.
Step 3: Build a Realistic Budget with Ranges
I break costs into categories and add contingencies.
Windows Budget Breakdown (per window average):
Unit itself: $180–$450
Labor and installation: $150–$350
Trim, flashing, caulk, insulation: $60–$120
Disposal and permits: $30–$80
Contingency (15-25%): included in total
Roofing Budget Breakdown:
Materials (shingles, underlayment, flashing): $3.50–$7.50 per sq ft
Labor: $2.50–$5.00 per sq ft
Tear-off and disposal: $1.00–$2.00 per sq ft
Ventilation upgrades or deck repair: $0–$4,000
Contingency (20-30% for older homes): critical
My Rule: If the material and scope list looks too short, the budget is too low. Roofing especially has many hidden costs once layers come off.
For our last window project (8 windows), my initial estimate was $5,800. After full takeoff and contractor input it settled at $7,200–$8,900. Actual spend: $7,850. No surprises.
Step 4: Evaluating Contractor Quotes
Get at least three written quotes. Compare them line by line.
Red Flags:
No mention of tear-off (for roofing) or proper flashing details
Vague language like “standard installation”
Significantly lower price without clear exclusions
No warranty details or manufacturer certifications
Pressure to sign quickly
Questions I Always Ask:
How many layers are you tearing off?
What underlayment and ice shield will be used?
Who is responsible for unexpected deck repairs?
What is the exact warranty on materials and labor?
Will you pull permits and schedule inspections?
I once received a roofing quote that was $3,000 below others. It didn’t include full tear-off or ice shield. We went with a higher but complete quote. Six months later a big storm hit — the properly installed roof handled it without issues.
Megan says I’m too detailed when reviewing these quotes. She may be right, but the process has saved us from at least one bad contractor decision.

Step 5: DIY vs Pro Decision Framework
Windows:
Minor trim repair, caulking, or screen replacement: DIY
Full window replacement: Almost always hire licensed pros (involves proper flashing, structural support, and warranties)
I handle interior trim finishing sometimes after pro installation
Roofing:
Gutter cleaning, minor repairs, or moss treatment: DIY with proper safety
Full replacement or significant repairs: Licensed roofing contractor only. This is not a homeowner job due to safety and code requirements.
Safety Note: Roofing is one of the most dangerous home projects. Falls and ladder accidents are common. I don’t climb on the roof for major work anymore — I hire it out.
Common Failure Modes in Window and Roofing Projects
Windows:
Poor flashing → water intrusion behind siding
Cheap units → fogging and high energy bills within 5 years
Incorrect installation → drafts and condensation
Skipping proper insulation around frames
Roofing:
Inadequate ventilation → heat buildup and shingle failure
Poor valley flashing → leaks during heavy rain
Skipping ice-and-water shield in Indiana winters → ice dam damage
Using low-quality underlayment → premature failure
If you ignore proper scoping and installation details, two to seven years from now you’ll be dealing with interior water damage or another full replacement.
Long-Term Maintenance and Future-Proofing
Windows Maintenance:
Inspect caulk annually
Lubricate tracks and hardware
Clean screens and glass
Check for condensation issues
Roofing Maintenance:
Clean gutters twice per year
Inspect after major storms
Trim overhanging trees
Check attic ventilation seasonally
Plan for 20-30 year lifespans on quality installations. Choose products with strong local warranties that manufacturers actually honor.
My Complete Decision Checklist for These Projects
Full condition assessment documented with photos
Written scope of work
Detailed material takeoff and budget range with 25% contingency
Minimum three qualified contractor quotes
Verification of licensing, insurance, and references
Clear contract with payment milestones tied to inspections
Post-install walkthrough and final testing
Follow this and you dramatically reduce risk.

Real Results from Our House
We replaced 12 windows three years ago. Proper scoping and choosing good (but not luxury) fiberglass windows cut our heating/cooling bills noticeably. The roof replacement two years before that has survived multiple severe storms without leaks. Both projects stayed within the high end of my budgeted ranges because I front-loaded the planning.
These aren’t glamorous projects. They’re infrastructure. Done right, you don’t notice them. Done wrong, they dominate your weekends and bank account for years.
Final Advice
Measure first — thoroughly inspect, define exact scope, build honest budgets with contingencies. Then cut — hire the right pros for the big work and manage the project like the manufacturing professional you are.
Windows and roofing are where good project management pays the biggest dividends. Take the time upfront to scope properly, and you’ll avoid the most expensive mistakes homeowners make in these categories.
Follow the procedure and everything will be fine. Your house will be more comfortable, more efficient, and protected for the long term.


No signals yet — transmit the first.