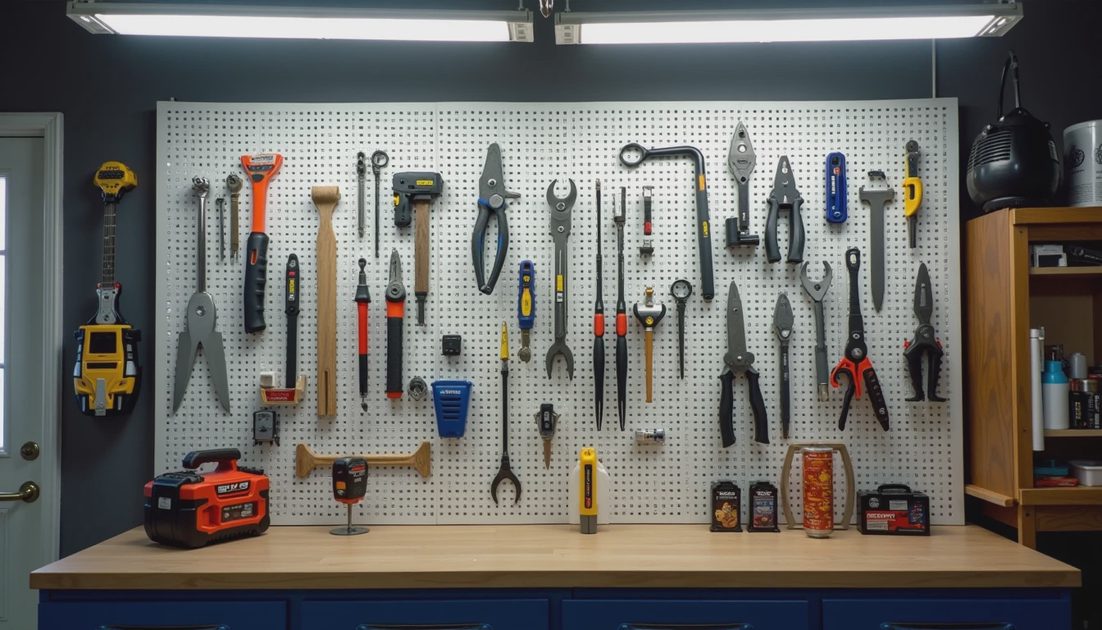
Good. Your garage has zones and your workbench is ready. Now the real efficiency comes from the vertical real estate right in front of you — the tool wall.
When I first organized the garage I threw everything on pegboard. Six months later it was a mess again. Tools buried behind other tools, duplicates appearing, and five minutes wasted every time I needed the right wrench. I tore it down and rebuilt it like a real production station. That was two years ago. It still works perfectly today.
Why Most Tool Walls Fail Over Time
Common mistakes I made and see in other garages:
No visual management (no outlines or labels)
Overcrowding — everything crammed together
Heavy items hung too high or too low
No dedicated zones for tool types
Ignoring workflow frequency
The result is a wall that looks organized in photos but slows you down in real use. I wanted a system where I could grab what I needed without thinking, even with gloves on or under time pressure.

My Current Tool Wall Rules and Layout Principles
I use heavy-duty pegboard (the thick stuff, not the thin dollar-store version) covering most of the wall behind the main workbench. Total setup cost was around $180 including hooks, outlines, and labels.
Core Rules I Follow
Frequently used tools at eye to chest height, within arm’s reach
Shadow outlines for every permanent tool
Bold, clear labels (I use a label maker with 1-inch black-on-white tape)
Group by function, not by type
Minimum 2-inch spacing between tools for easy grab
Heavy items on lower rows or in drawers below
Zones on my wall
1. Measuring & Marking Zone
Tape measures (two sizes), combination square, speed square, levels (2ft and 4ft), chalk line, pencils, and marking gauges. These live in the center at perfect height. I reach for them on almost every project.
2. Striking & Prying Zone
Hammers (claw, ball peen, mallet), pry bars, and nail sets. All have clear outlines. The 16oz claw hammer is used so often it has its own dedicated hook with quick-release.
3. Cutting & Shaping Zone
Utility knives, chisels, files, rasps, and hacksaw. Kept together because they’re used in sequence during many repairs.
4. Plumbing & Electrical Basics
Pipe wrenches, basin wrench, wire strippers, voltage tester, and conduit tools. These are lower because they’re heavier and used less frequently than hand tools.
5. Power Tool Parking
Battery chargers mounted directly on the board with custom brackets. Drills, impact driver, oscillating tool, and circular saw all have dedicated spots when not in use.

What Earned a Permanent Spot
Basin wrench — Used on every faucet job. Earned prime real estate after I wasted 10 minutes searching for it twice.
Good tape measure (25ft) — Lives in two places: wall and pocket holster. Redundant but worth it.
Voltage tester — Safety item. Has its own bright yellow outlined spot so I never forget it.
Combination square — Precision layout tool. Critical for accurate cuts.
My favorite pry bar — The one that has saved me on dozens of demolition jobs.
These tools are used weekly or monthly. They deserve fast access.
What Didn’t Make the Cut
Specialty wrenches I used once — Moved to drawer. They cluttered the board.
Cheap screwdrivers — Consolidated into one good set. Duplicates were removed.
Old corded tools — Most went to the “sell or donate” pile. Cordless replaced them.
Random hooks with no outlines — Anything without a home got removed. Empty space is better than clutter.
Oversized items — Like big pipe wrenches. They now live on the side wall in a dedicated rack.
Removing these freed up space and made the wall actually usable. Less is more when it’s well organized.
Failure mode if you skip visual management: Tools get misplaced, you buy duplicates (I’ve done it), projects stall, and frustration kills momentum. A clean shadow board prevents all of that.
Maintenance and Evolution of the System
Every three months I do a quick audit:
Check for missing tools (empty outlines make it obvious)
Move items based on actual usage frequency
Update labels if needed
Wipe down the board
I keep a small “parking lot” area on the far right for temporary project tools. Once the job is done, they go back to their permanent homes.
Megan says I overbuild systems. She’s usually right — but this tool wall has paid for itself many times over. Last month I replaced a light fixture in under 25 minutes because every driver, level, and tester was exactly where it should be. No hunting. No mess.

Start Building Your Own Efficient Tool Wall
You don’t need to do it all at once. Follow this sequence:
Empty the entire wall
Group tools by how often you use them and by project type
Mount heavy-duty pegboard (reinforce if needed)
Place high-frequency items first at optimal height
Trace outlines and label everything
Test with real projects and adjust
Maintain the system religiously
Measure first (inventory and frequency), then cut (mount and outline). Start with one 4x8 sheet if you’re tight on budget. You can always expand.
A good tool wall turns your garage from storage into a real workshop. Every tool has a home, every home is clearly marked, and every project starts faster with less friction.
Follow the procedure and everything will be fine. When your tools are organized like a small factory line, you spend more time building and less time searching. That’s time and money saved on every single weekend project.


No signals yet — transmit the first.