Listen. You’ve prepped for the job. Now you need a place where every tool is exactly where it should be when you need it. That’s why I rebuilt my garage like a small production line.
Our 1989 house came with a standard two-car garage that quickly became a dumping ground. Tools everywhere, half-empty paint cans, winter tires mixed with kids’ bikes. Every project started with 15 minutes of “where the hell is my...”. I got tired of it. So I treated the garage the same way we optimize assembly stations at the plant.
The result? I can now find any tool in under 10 seconds, start projects faster, and actually put everything away when I’m done. No more lost time hunting. No more buying duplicates because I couldn’t find the original.
Why Factory Logic Works Better Than “Storage Solutions”
Most garage organization advice focuses on pretty shelves or expensive cabinets. I focused on workflow.
In manufacturing we design for movement: minimize steps, eliminate searching, reduce errors. Same principles apply at home.

Key factory principles I applied:
Everything has a home and a visual indicator when it’s missing
Work flows in a logical sequence (receive → prep → work → finish → store)
Heavy or frequently used items at waist height or below
Clear zones with physical boundaries
Shadow boards and labels everywhere
Dust and debris control built into the layout
This isn’t about looking organized for photos. It’s about being faster and making fewer mistakes when I’m actually working.
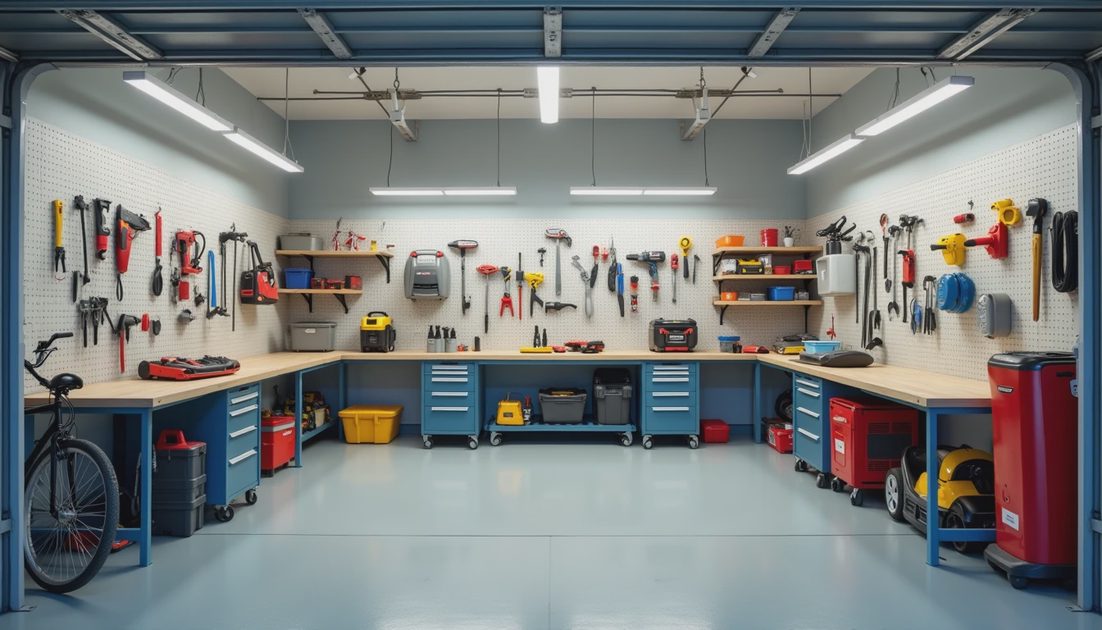
My Current Garage Layout and Zones
I divided the garage into clear functional zones. Total cost was under $450 using mostly plywood, pegboard, and heavy-duty shelving from the big box stores.
Zone 1: Main Workbench Station
Deep 2x6 framed bench against the back wall. Pegboard above it for primary hand tools. Drawer units below for fasteners, bits, and small consumables. Power strip with surge protection mounted under the bench. LED task lighting directly above.
Zone 2: Material & Hardware Storage
Wall-mounted shelves on the side wall. Clear plastic bins labeled by category: “Drywall Screws”, “Wood Screws”, “Bolts & Nuts”, “Electrical”, “Plumbing”. Larger materials (plywood, lumber, pipe) stored vertically in a dedicated rack.
Zone 3: Small Engine & Maintenance Corner
Dedicated area near the garage door for mower, snowblower, pressure washer, and chainsaw. Drain pan, oil catch, parts washer bucket, and dedicated tool set. Floor mat to catch spills.
Zone 4: Parking & Access Path
Clear center aisle wide enough to move the truck in and out easily. Bike hooks on the ceiling. Seasonal items stored high up.
Zone 5: Waste & Cleanup Station
Shop vac with long hose, broom, dustpan, trash can, and recycling bins all together near the door. Makes end-of-project cleanup part of the natural flow instead of an afterthought.
Every zone has its own “5S” discipline: Sort, Set in order, Shine, Standardize, Sustain. Sounds rigid. Works incredibly well.

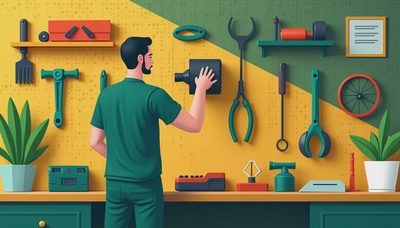
The Shadow Board and Labeling System That Changed Everything
The single biggest upgrade was creating shadow boards for tools.
I traced every major tool on the pegboard with black marker, then labeled each spot. If a tool is missing, the empty outline screams at me. No more “I think I left the tape measure...”
I also labeled every bin, drawer, and shelf. Even Megan and Chloe can find things when they need to. During projects I no longer break flow to search. That alone probably saves me 30-60 minutes per major job.
Failure mode if you skip this: Tools get buried, you buy duplicates, projects stall mid-way, and frustration builds. I’ve been there. Never going back.
Daily and Weekly Maintenance Routines
Organization only works if you maintain it.
My simple routine:
End of every project: 10-minute reset — everything back to its spot
Weekly: Quick sweep and wipe-down of the workbench
Monthly: Check labels, reorganize any drifted items, oil moving parts on equipment
I keep a small laminated checklist clipped near the workbench. Takes almost no time once it becomes habit.
Megan says I overbuild systems. She’s usually right. But this one paid off big time last summer when I needed to swap the mower carburetor quickly before a rainstorm. Grabbed every tool I needed in seconds, did the job, cleaned up, and was done before dinner. No stress.
Start Small — Build Your Own Factory Line
You don’t need to do the whole garage at once. Pick one wall or one zone and apply the same logic.
Empty the area completely
Decide the primary function of that zone
Put heavy/frequent items at optimal height
Create visual locations (outlines, labels, bins)
Test the workflow with a real project
Adjust and standardize

Measure first, then cut. Start with accurate measurements of your space and actual tool inventory before buying any storage products.
The best part? Once the system is in place, every future project becomes easier. The garage stops being a storage problem and becomes a productivity tool.
Follow the procedure and everything will be fine. A well-organized workspace isn’t about perfection — it’s about removing friction so you can focus on the actual work.
Next time you walk into a cluttered garage and feel that familiar dread, remember: a few weekends of disciplined setup will save you dozens of weekends of wasted searching.


No signals yet — transmit the first.